|
PIETENPOL
homebuilt aircraft
Build Log
Plans and a build manual, which is a collection of
articles and experiences not so much a step by step guide, were
ordered first.
I first
ordered the major wood and hardware needed. I didn't shoot for a
total parts order for completing the plane since there were still
decisions to make in what covering material, to build a control set
or use one from a Cub or similar plane, same with the main gear.
Also ordered were the T88 epoxy, nails, and other assembly
components. I learned two great tips from this process that apply to
model aircraft. I have been building and flying them for about 25
years, mostly 1/4 and 1/3 giant scale, and still learn new things
every day. I was surprised to find that nails were used in full
scale construction, it just seems ridiculous, nails in plane? They
aren't structural, they are used as clamping force to hold parts
together while the epoxy cures. I wish I had known this before, it
will work great in giant scale model construction.
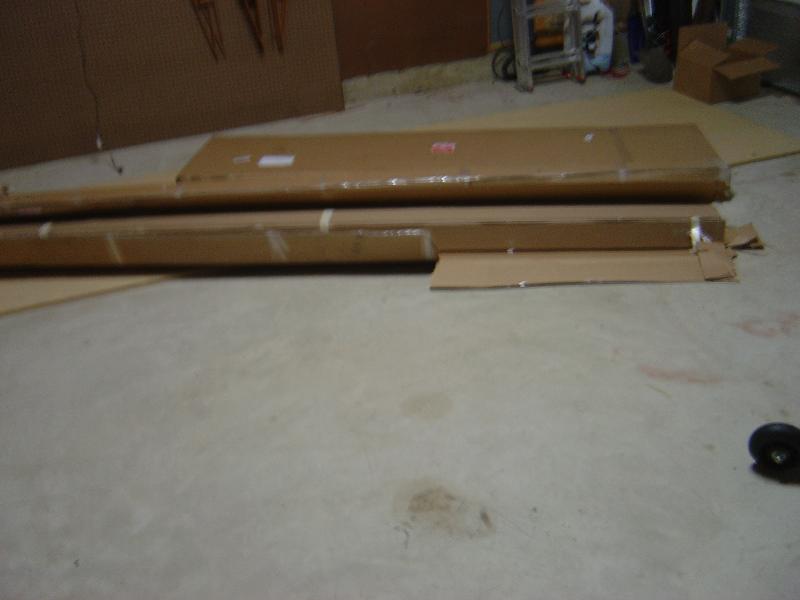
Wood stock unpacking
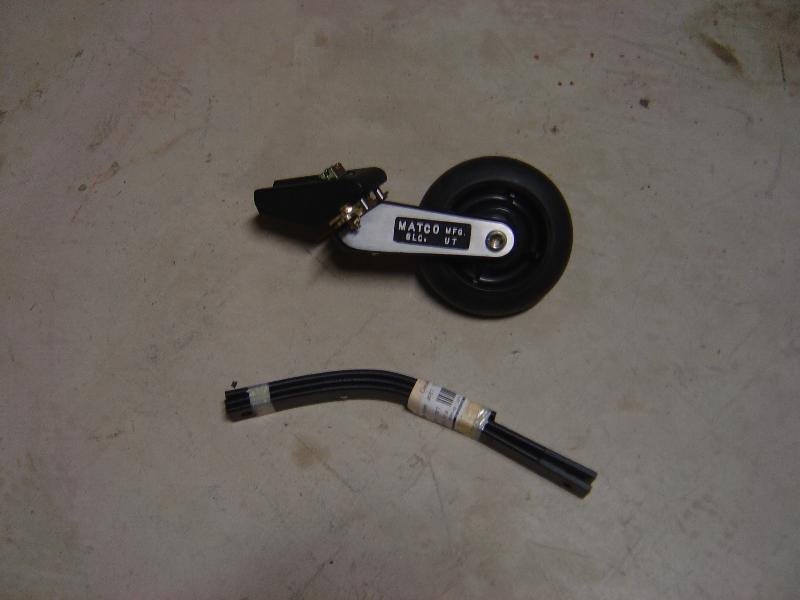
Tailwheel
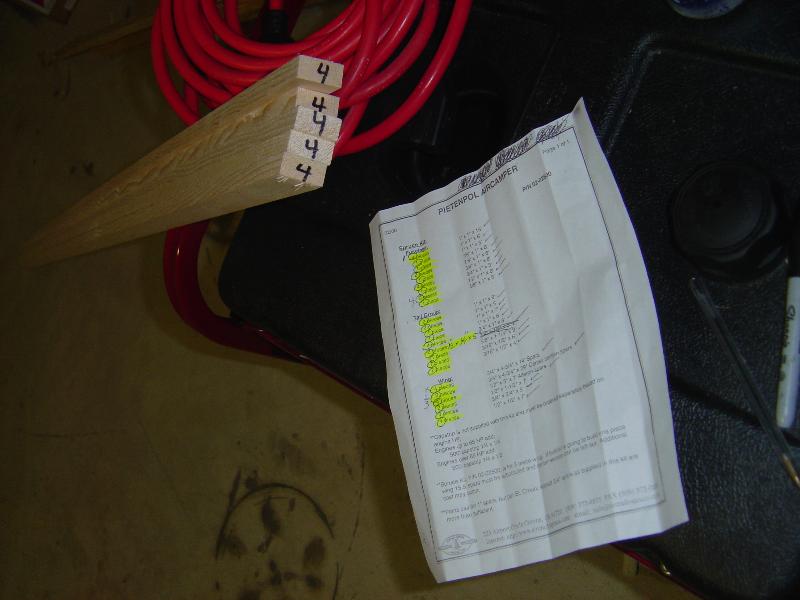
Sorting the wood
Identifying each piece
The tail feathers are
complete and I need to upload more pics.
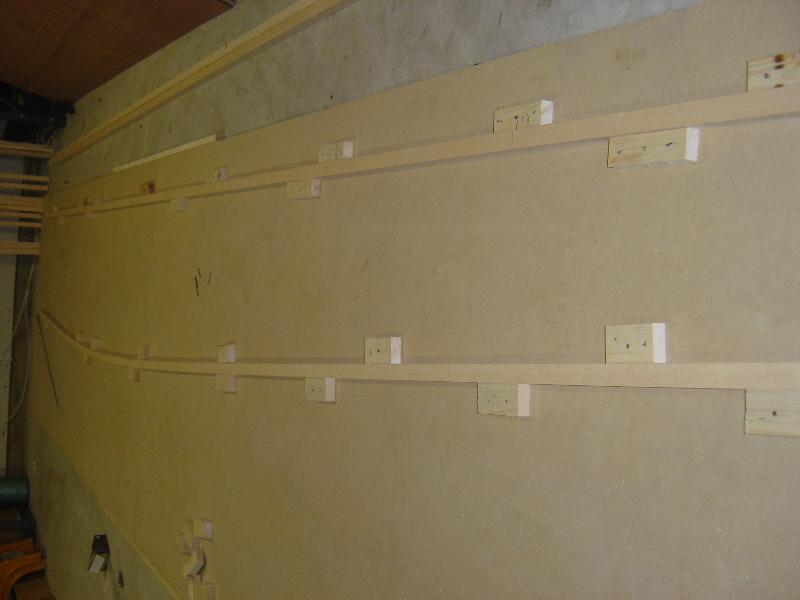
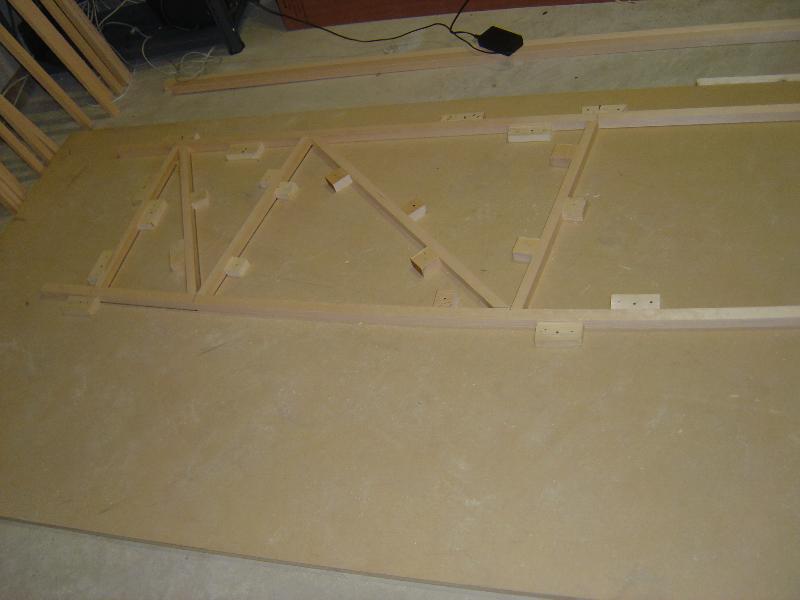
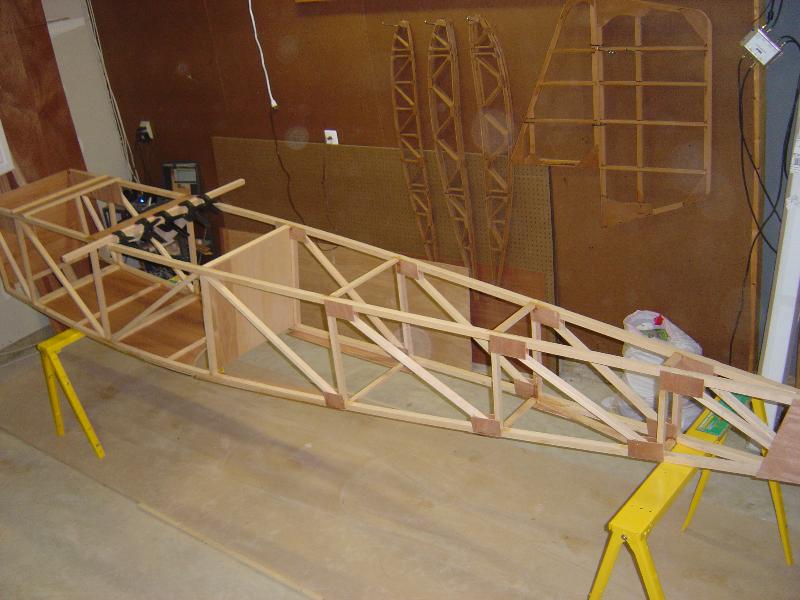
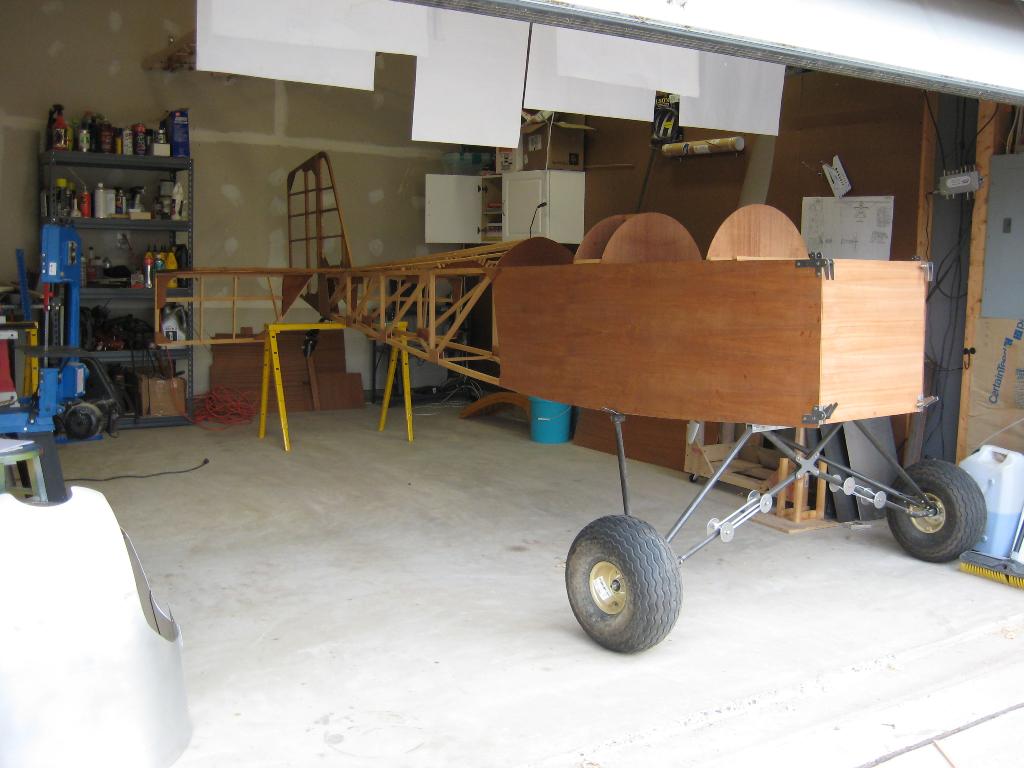
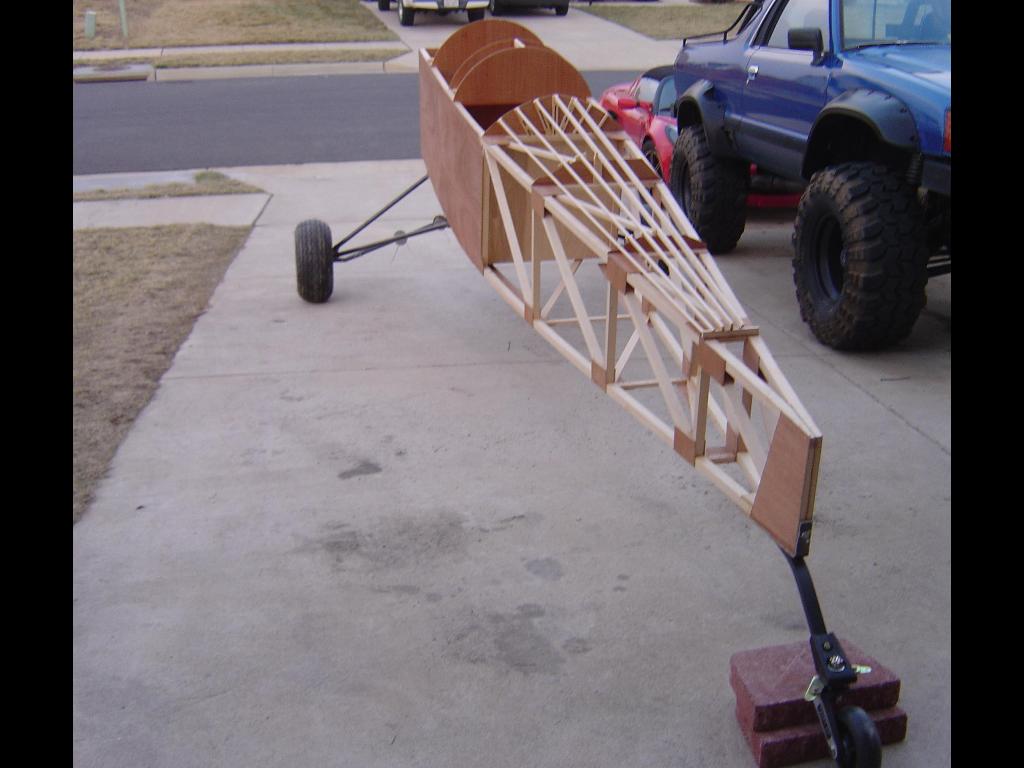
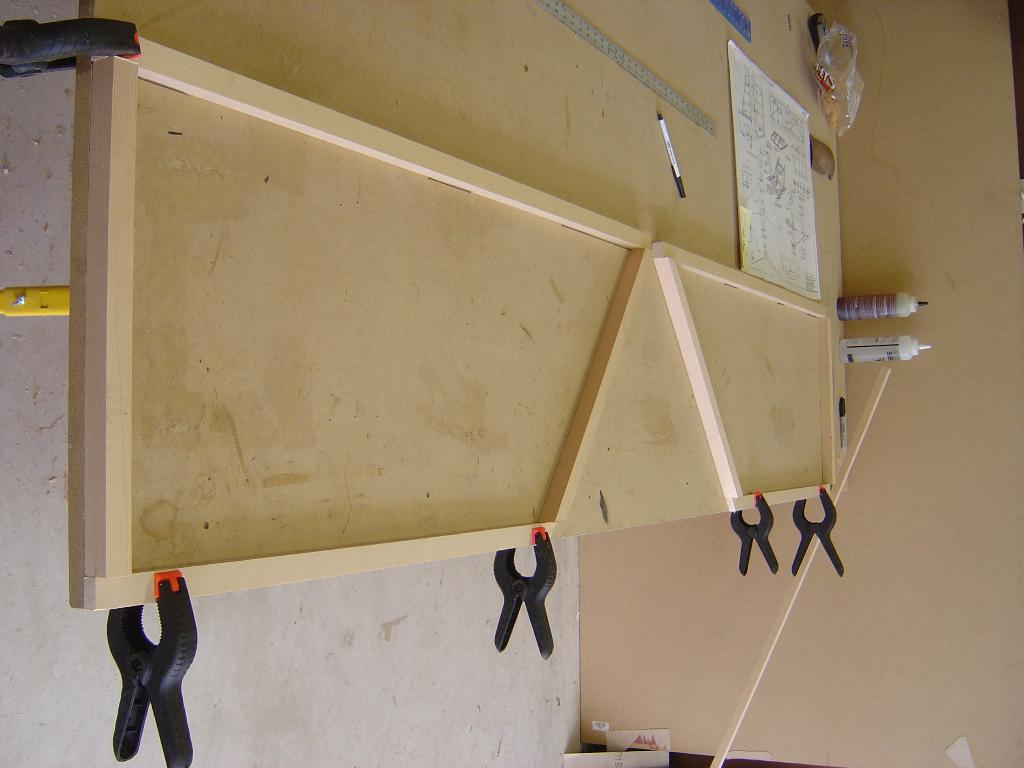
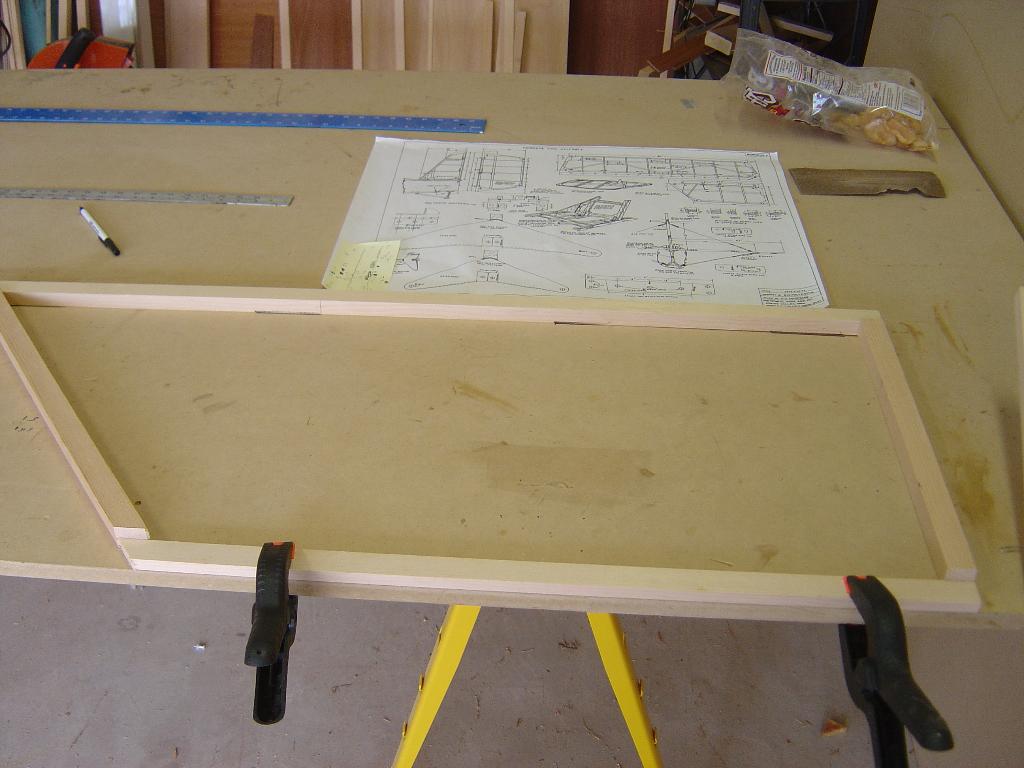
Fuselage is underway. First thing was a building
board. I used two sheets of 3/4 MDF with some 3/4 x 3/4 stock to
join them. I cut dozens of sections of 3/4 x 2 stock to use as
alignment blocks.
Building
board
Laying out the longerons
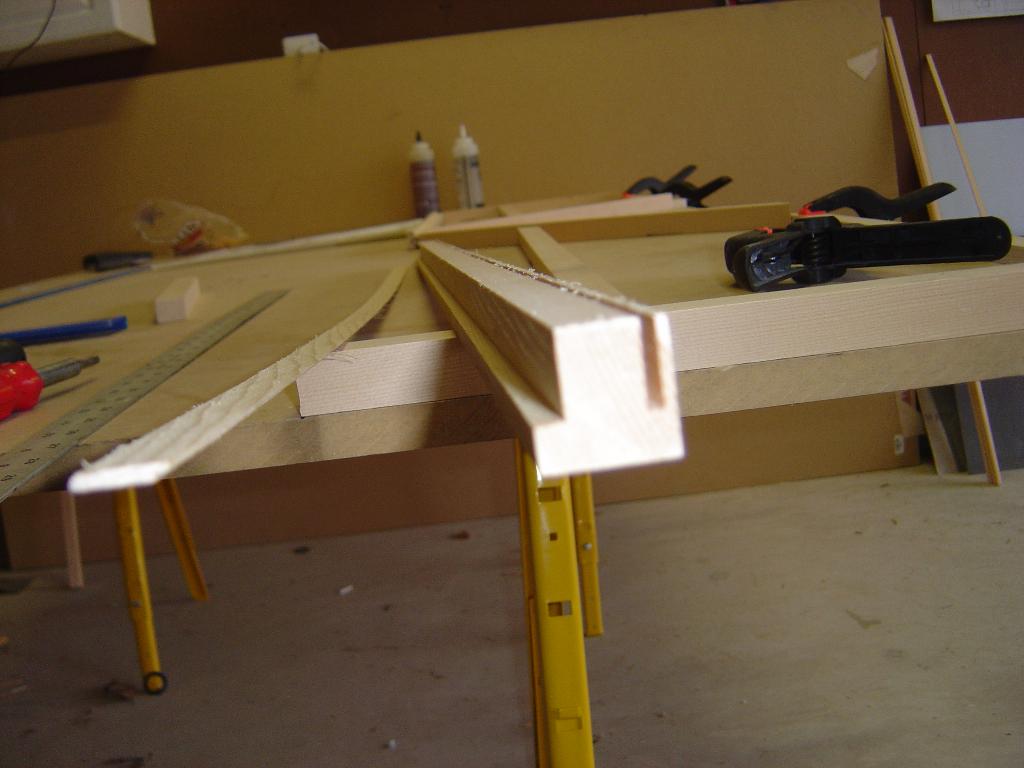
More alignment blocks and putting in the
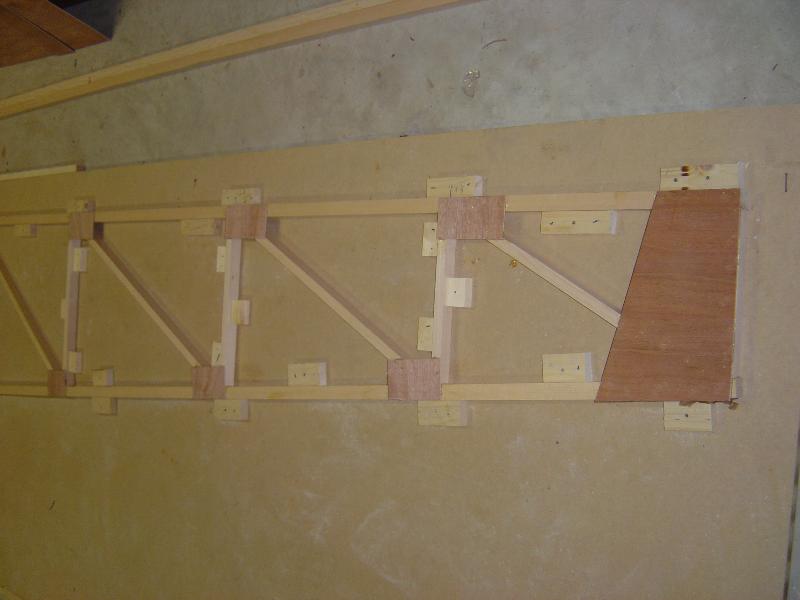
uprights Gussets
go on over the joints
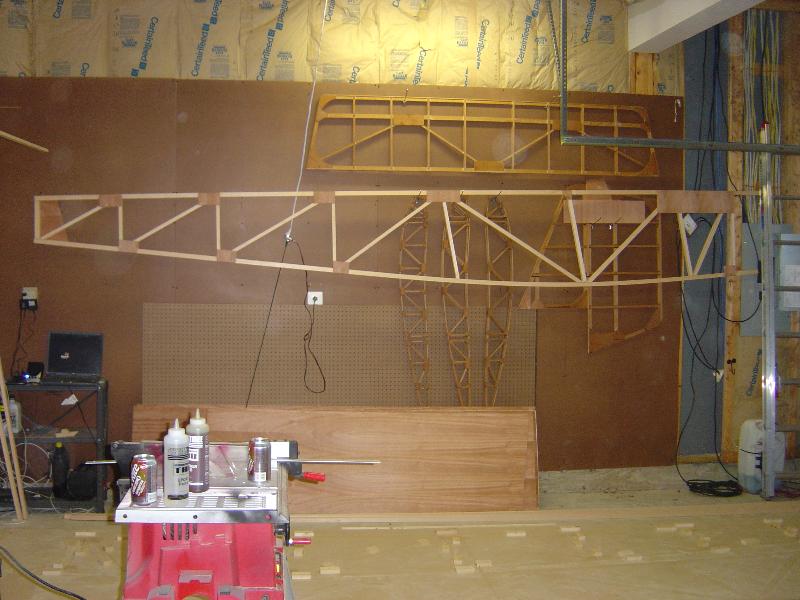
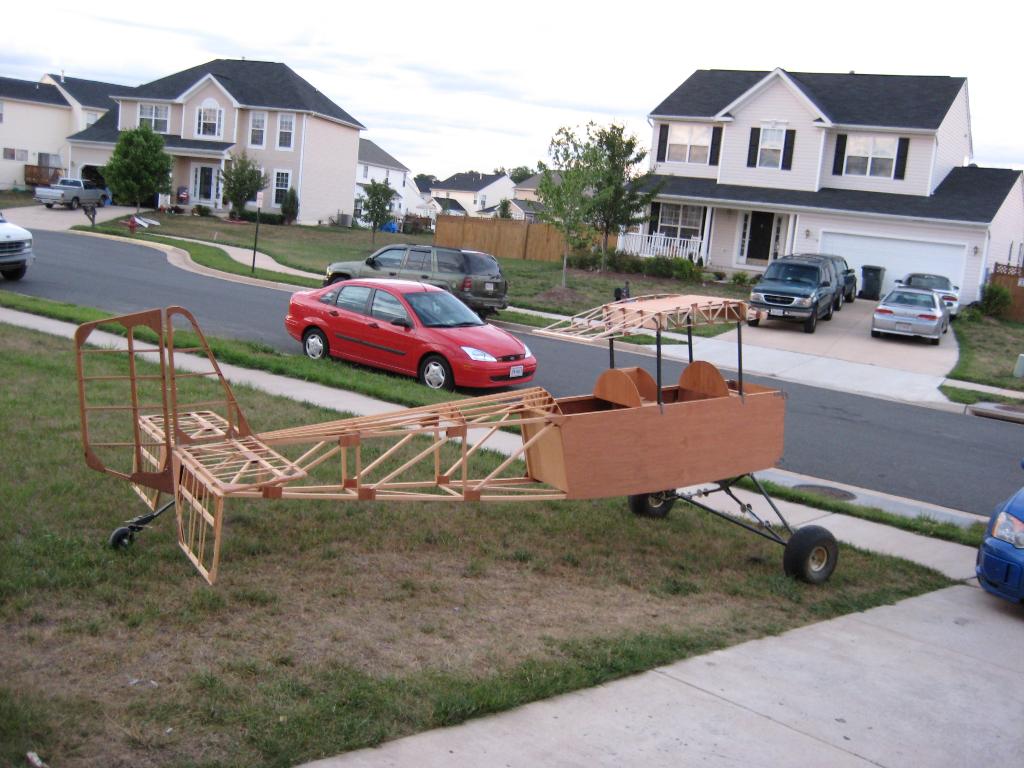
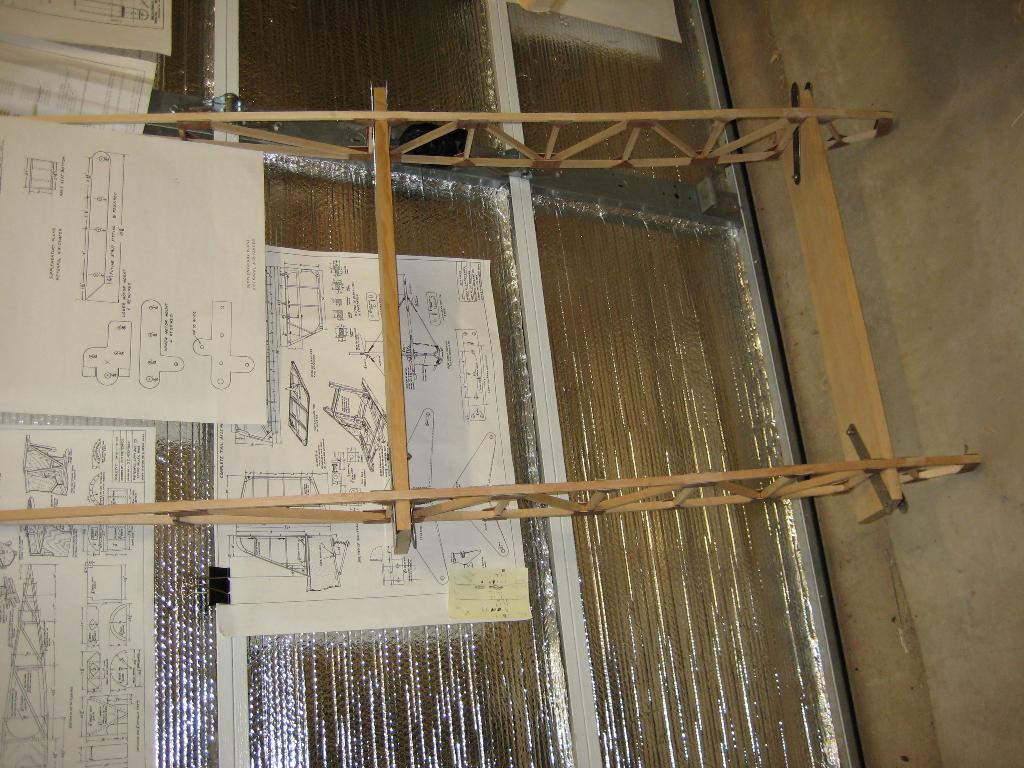
A complete fuselage side, very light
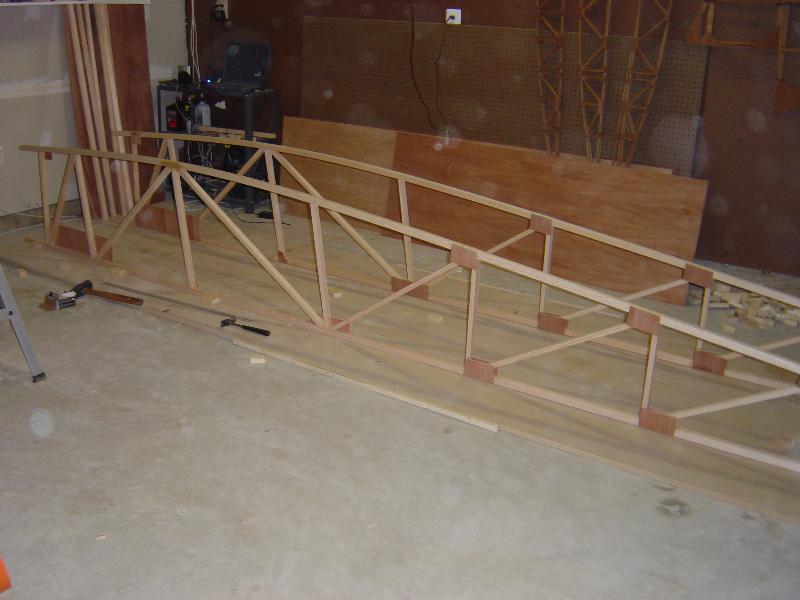
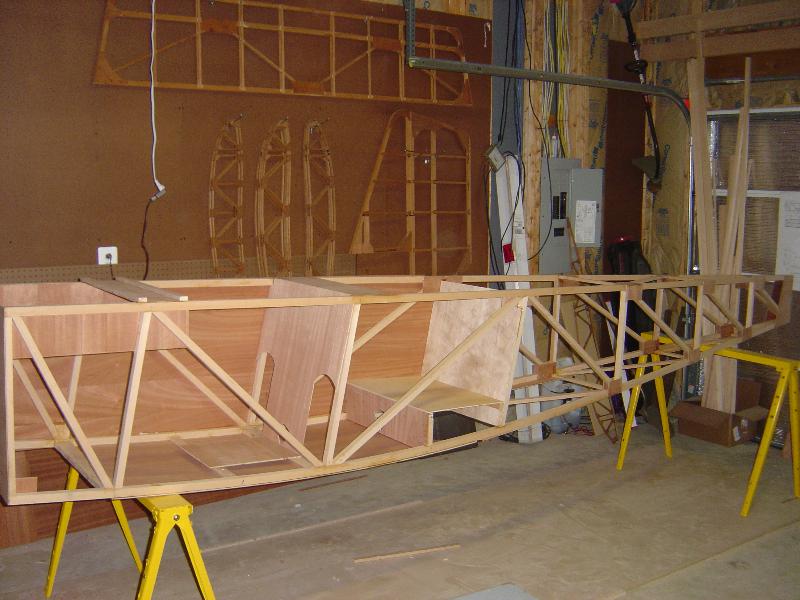
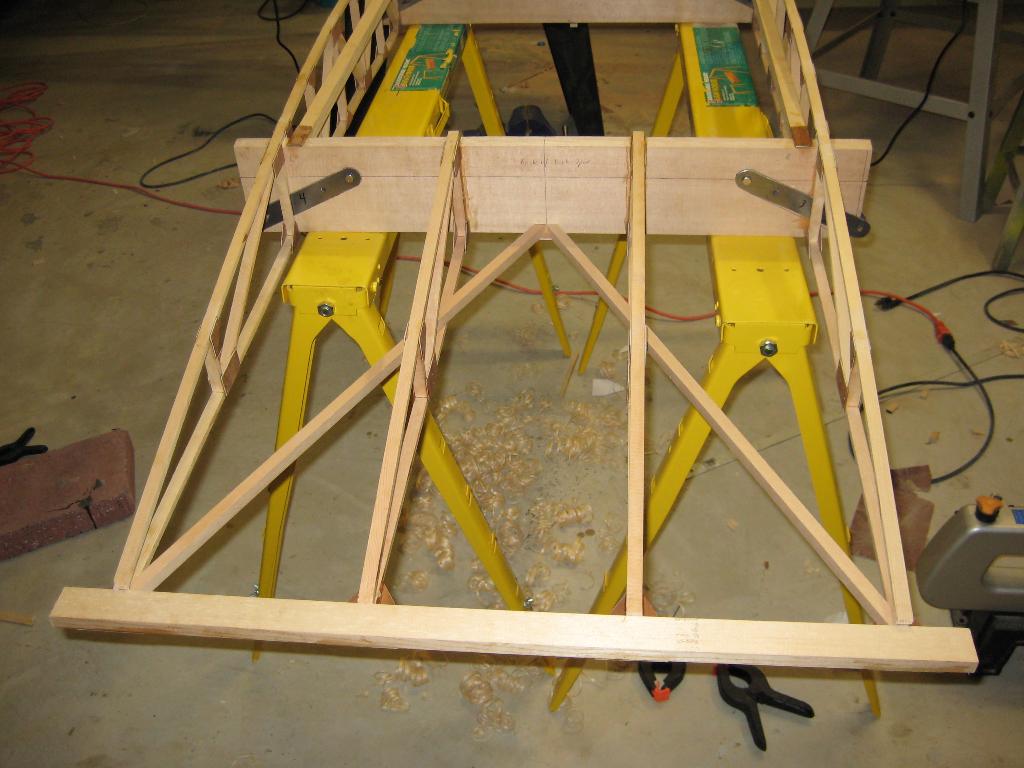
Joining the two completed sides
Flooring on as well as additional
gussets
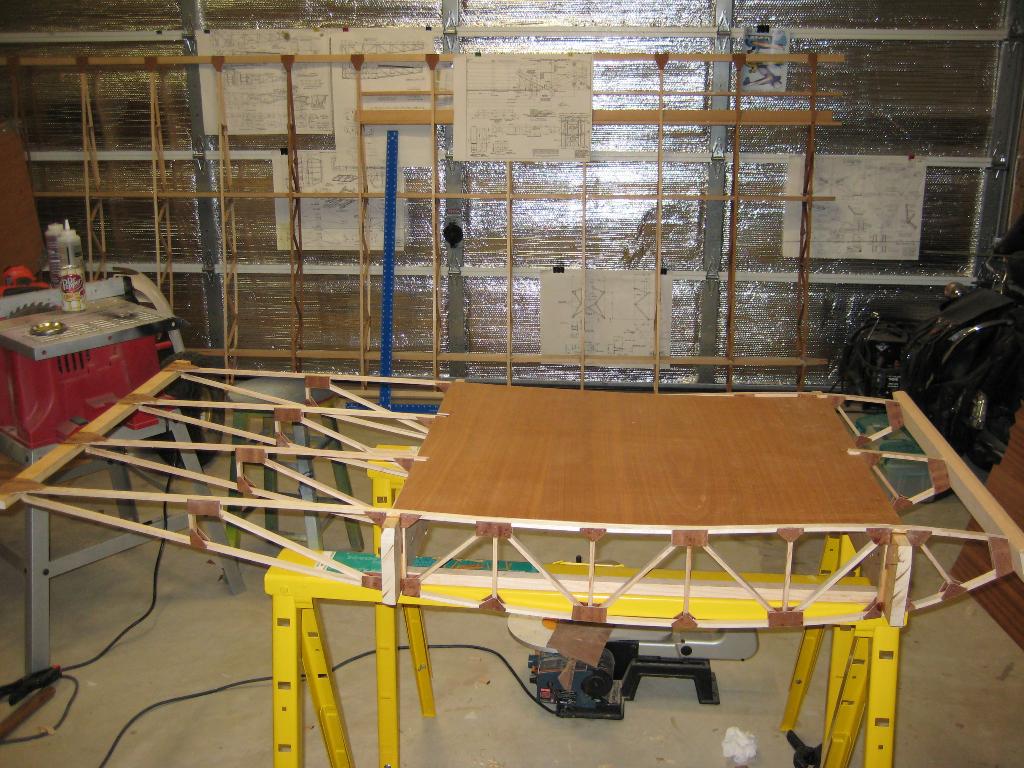
More cross struts, seats started and
one site sheeted
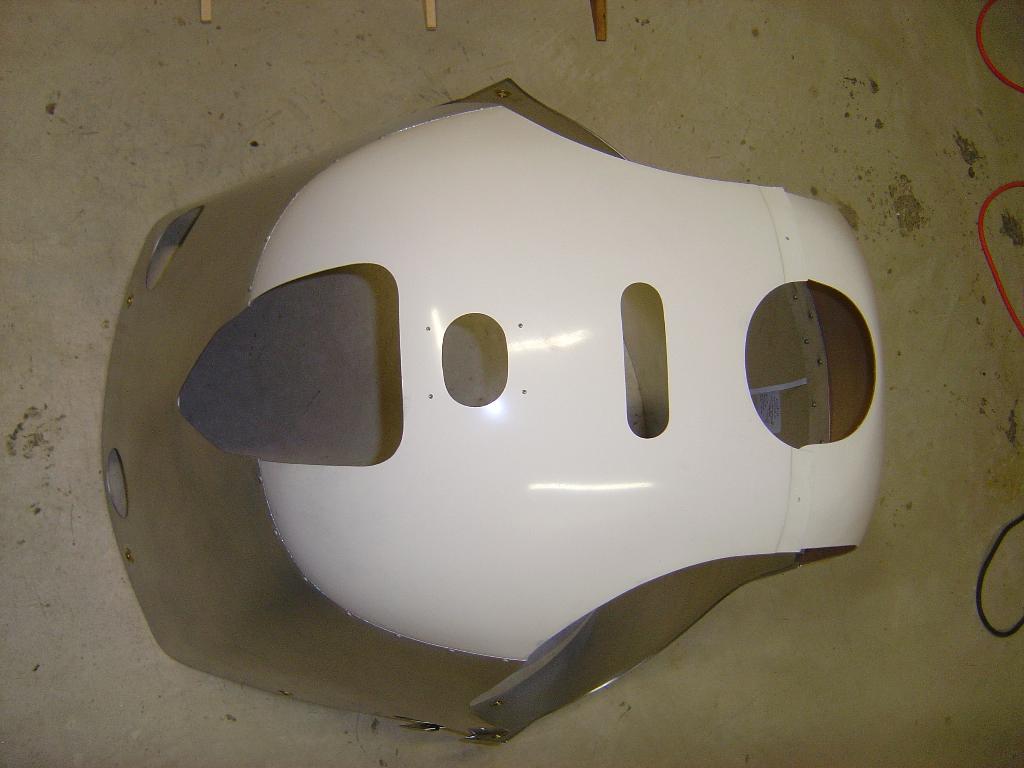
Cowl has arrived
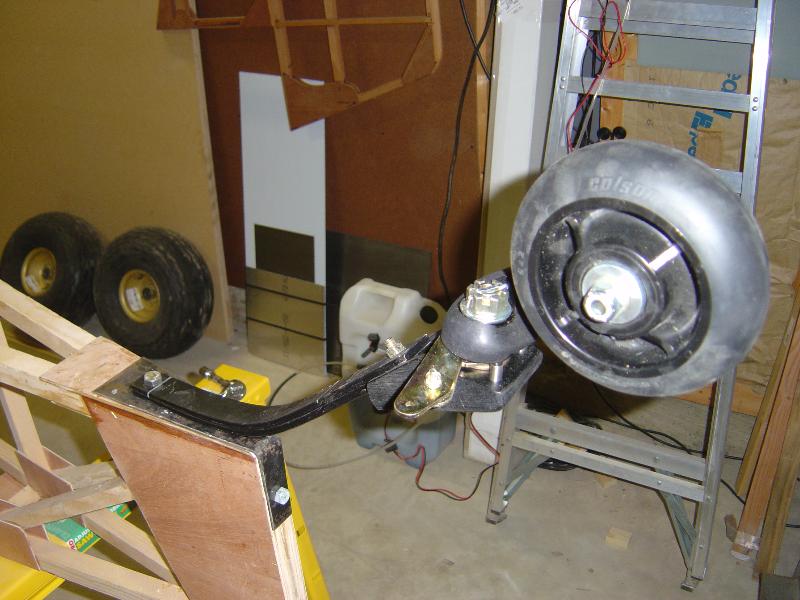
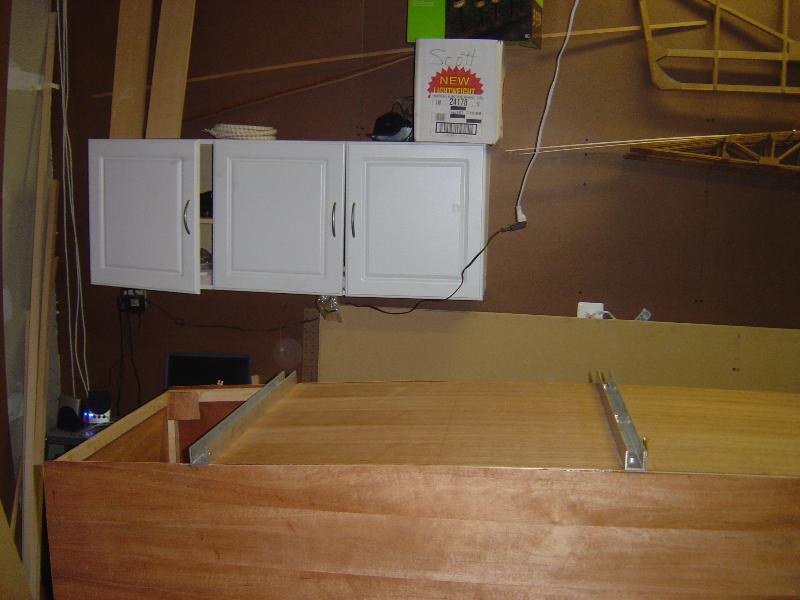
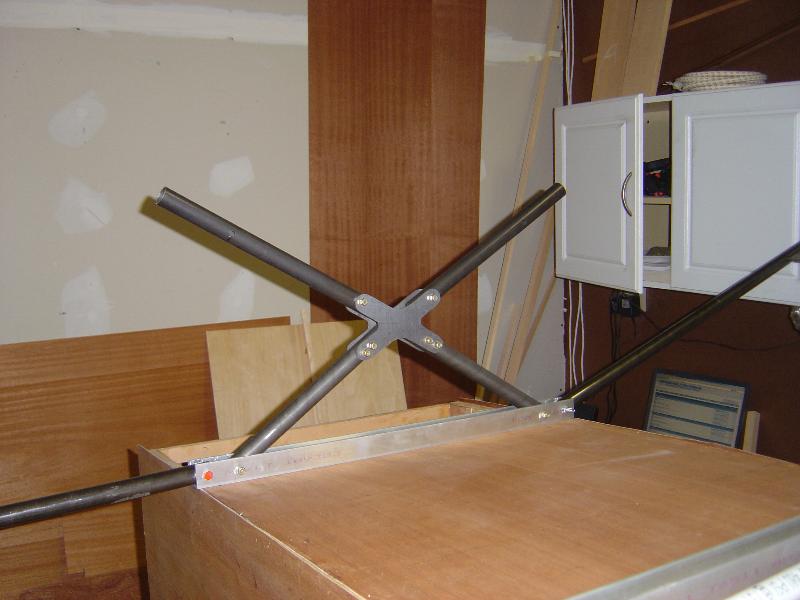
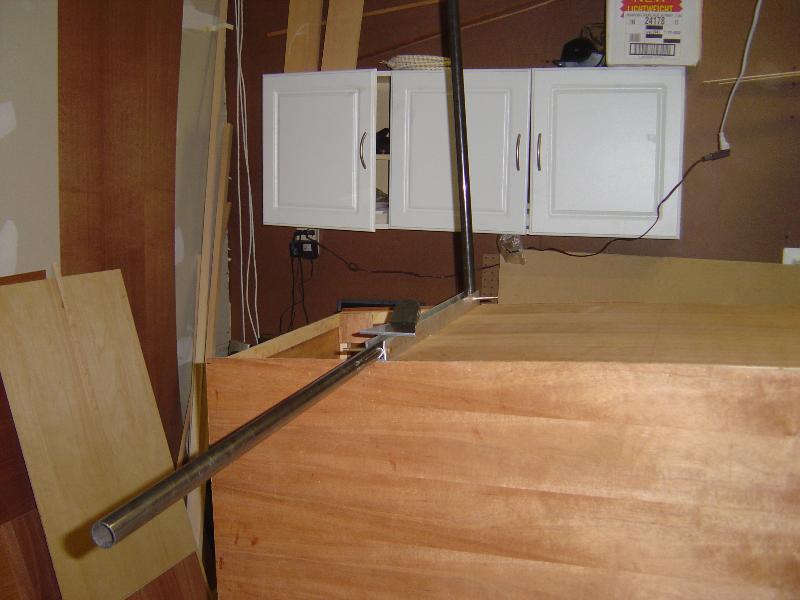
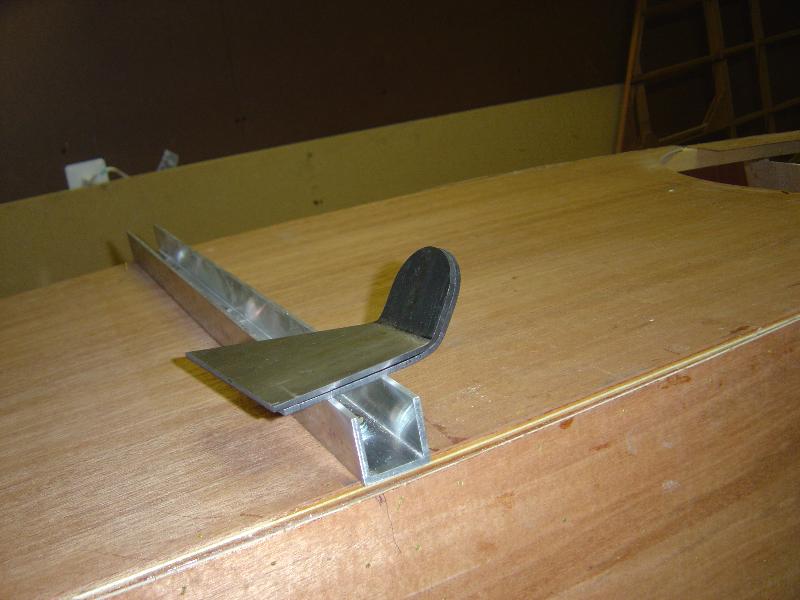
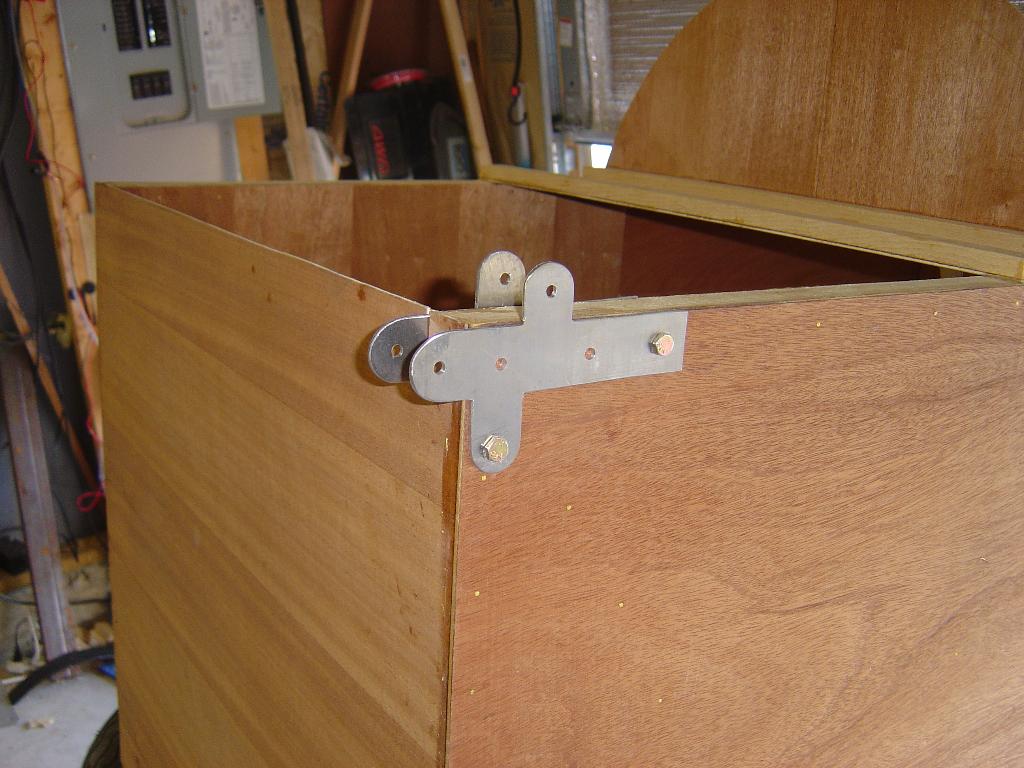
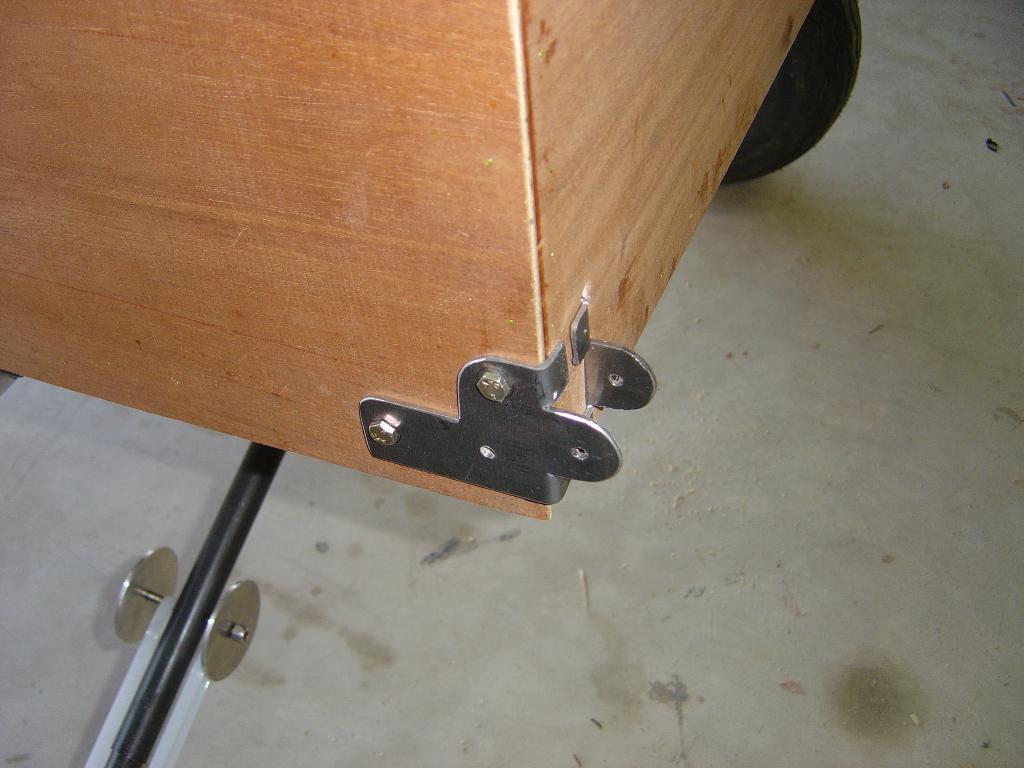
Tailwheel progress, I need to do the
cross piece and retainer bracket still
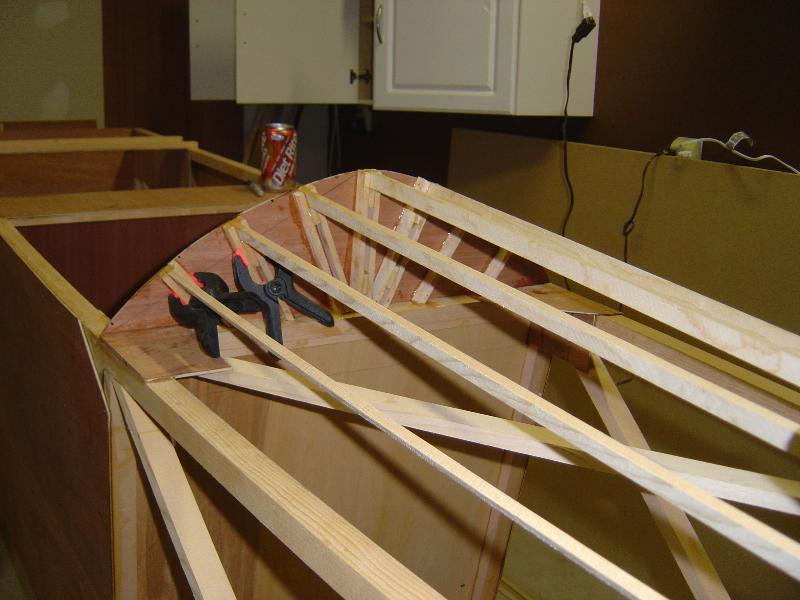
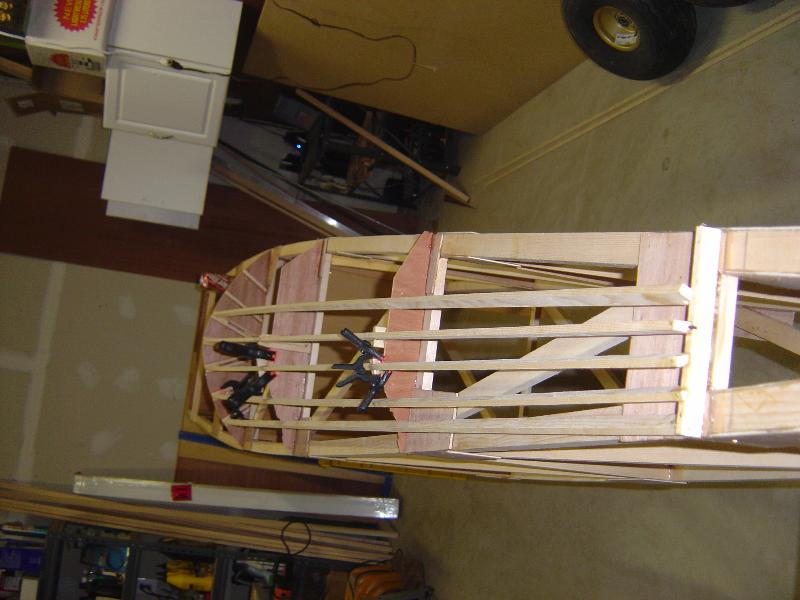
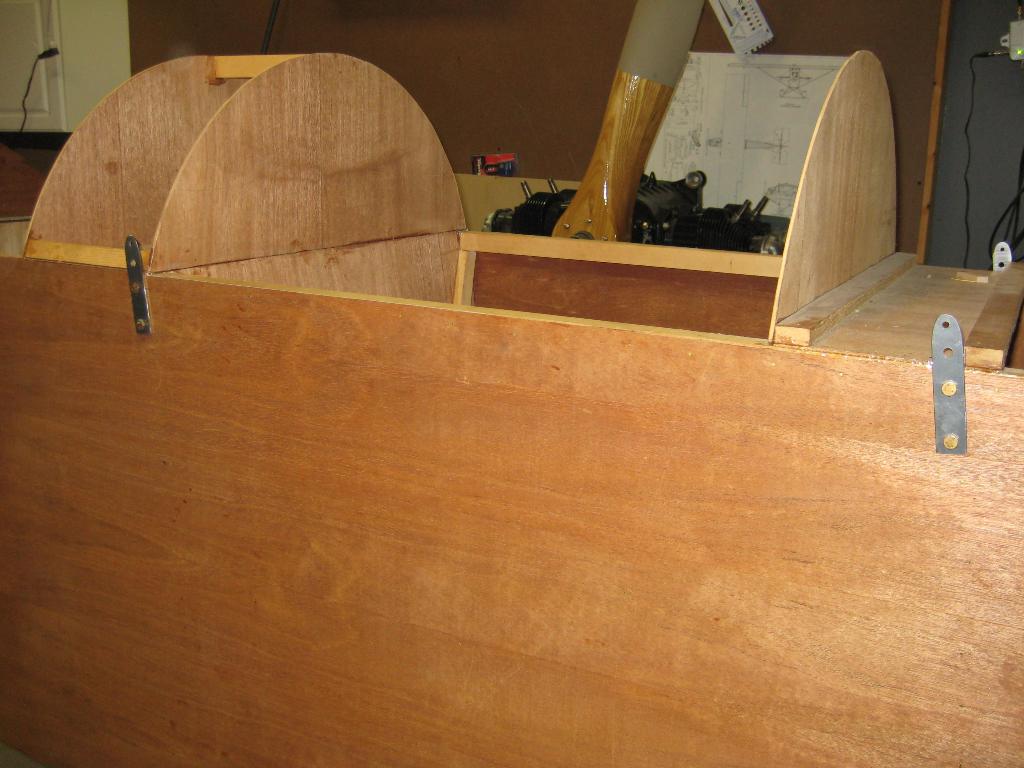
Turtledeck progress, one deviation
from plans that is stronger, easier to fab and only a few Oz more
More turtledeck
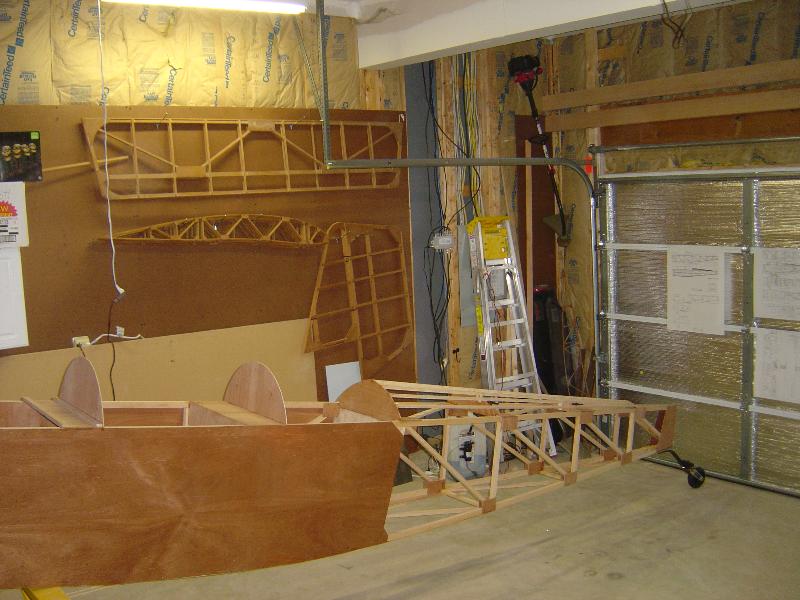
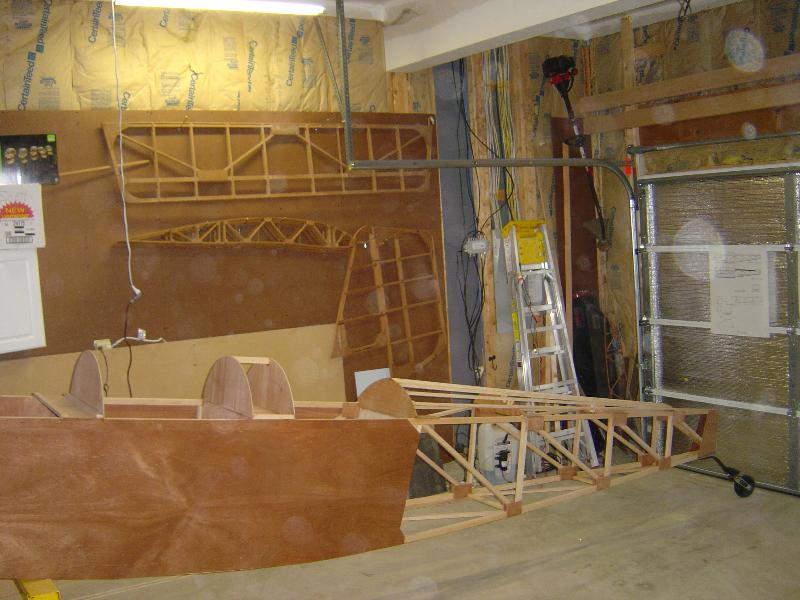
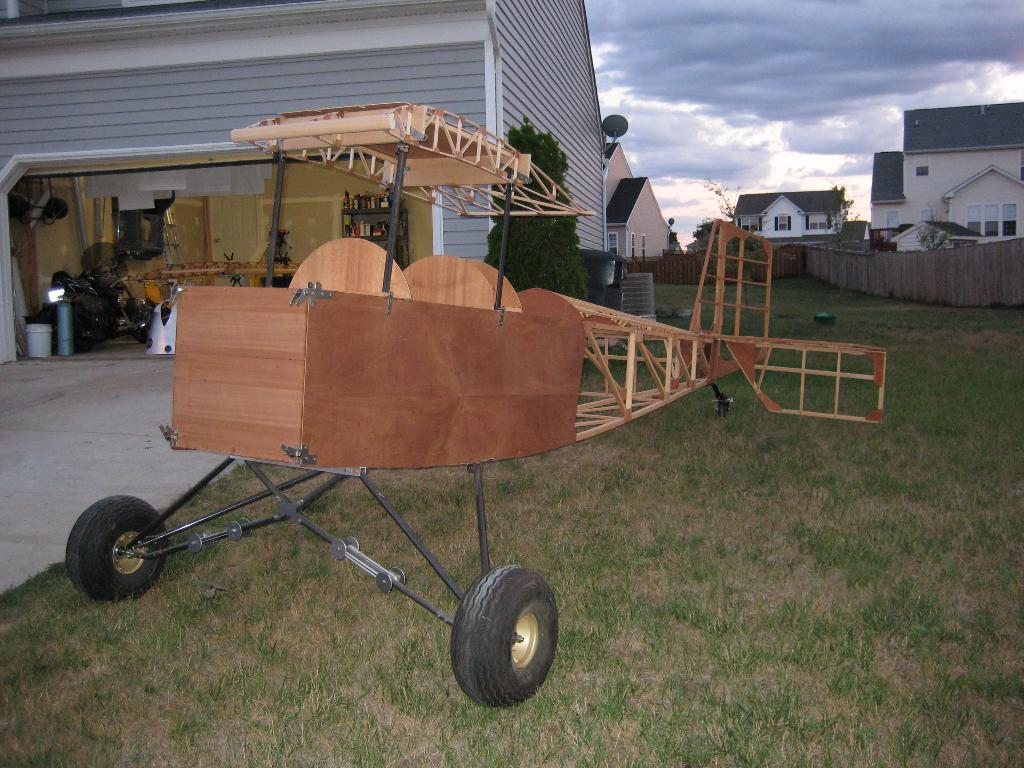
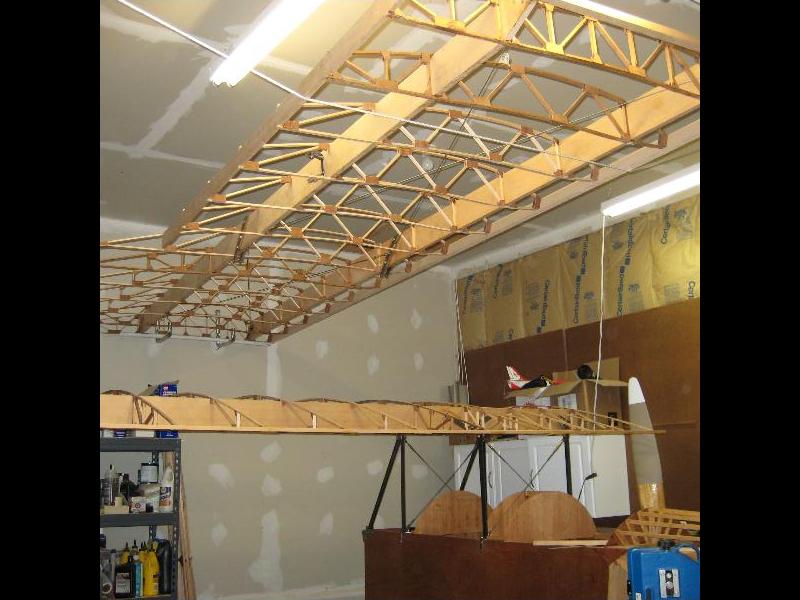
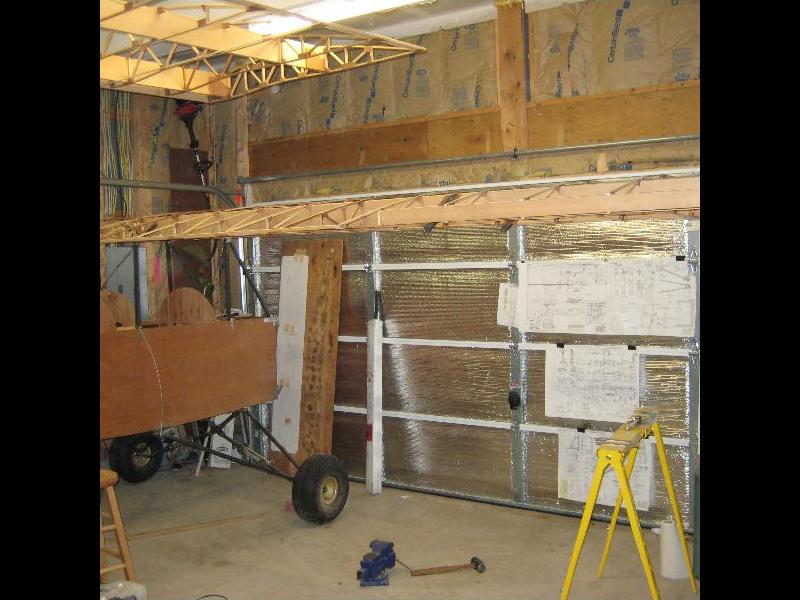
Side view showing instrument panels,
turtledeck and tailwheel
Slightly more work
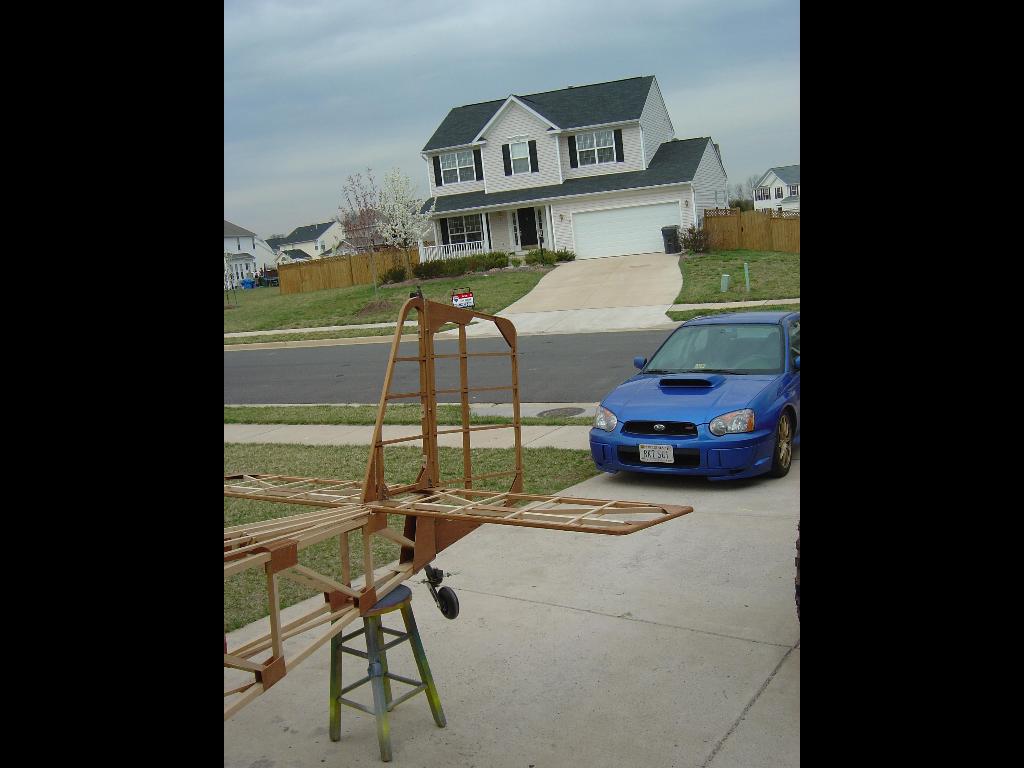
As of June 5 07 w gear and tail on,
cabanes going on
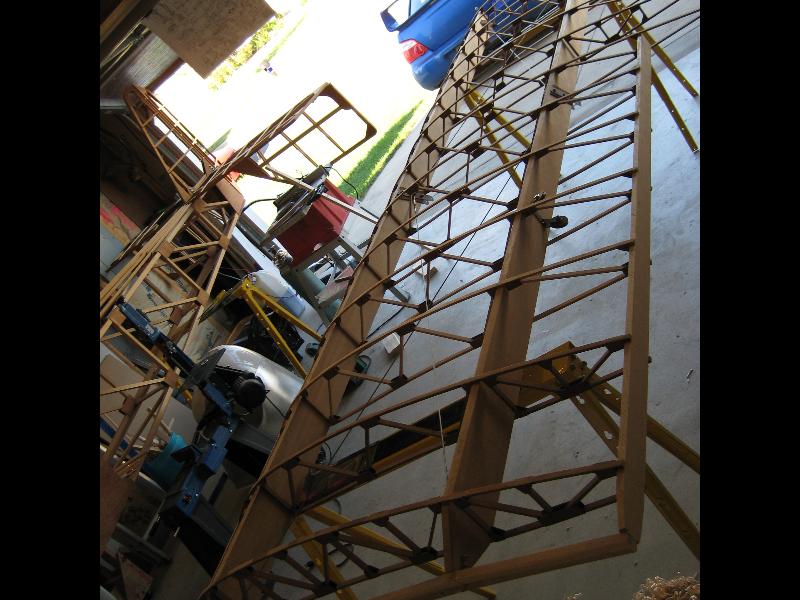
June 25th has the center section on
2nd photo
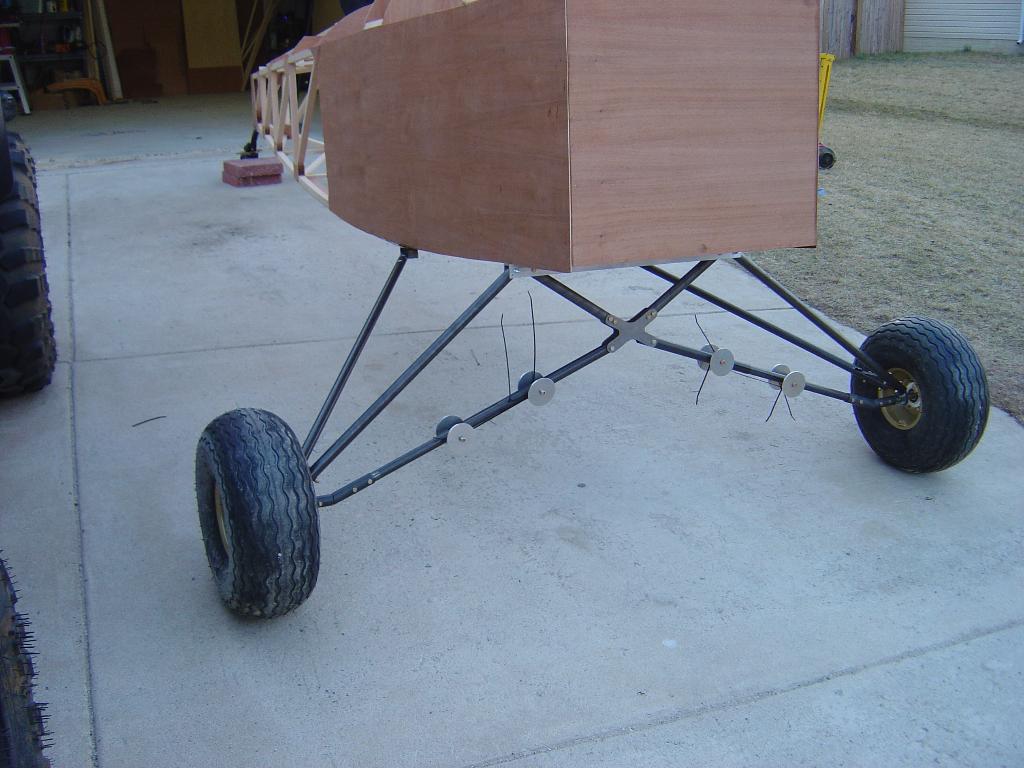
Fabricating the landing gear.
I borrowed this design from a homebuilt Cub as it seemed more
practical to fabricate and maintain than the original Pietenpol
design.
Rails on Fuse
Upper shock cord mounts
Front Legs on
Axle mounts
Done deal other than the shock cords,
cuffs and brakes.
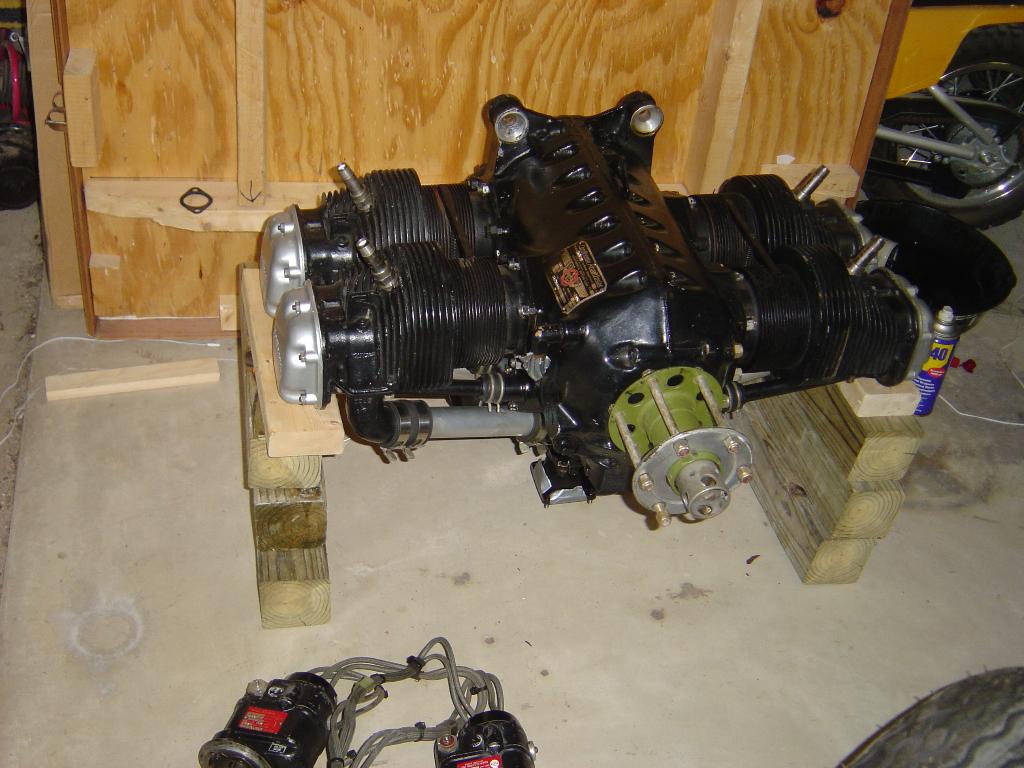
Another pic Engine
I had really wanted to use the Subaru EA81,
but in the end, insurance was a nightmare. Don't read any sort of
common sense into that, the same Subaru engine on a different plane
was fine, this plane with an admittedly inferior engine on all
accounts was fine. The aviation world can be strange to say the
least. So, I went with my second choice, a Continental A65, a great
engine standard in the Piper Cub and a few others as well.
Pic1
03-31-07 The fittings are fabricated for the tail and it is on the
plane. The rudder is hinged and the elevators are being built. I
also finished the motor mounts (plane side) and cut a few pieces for
the motor mount itself.
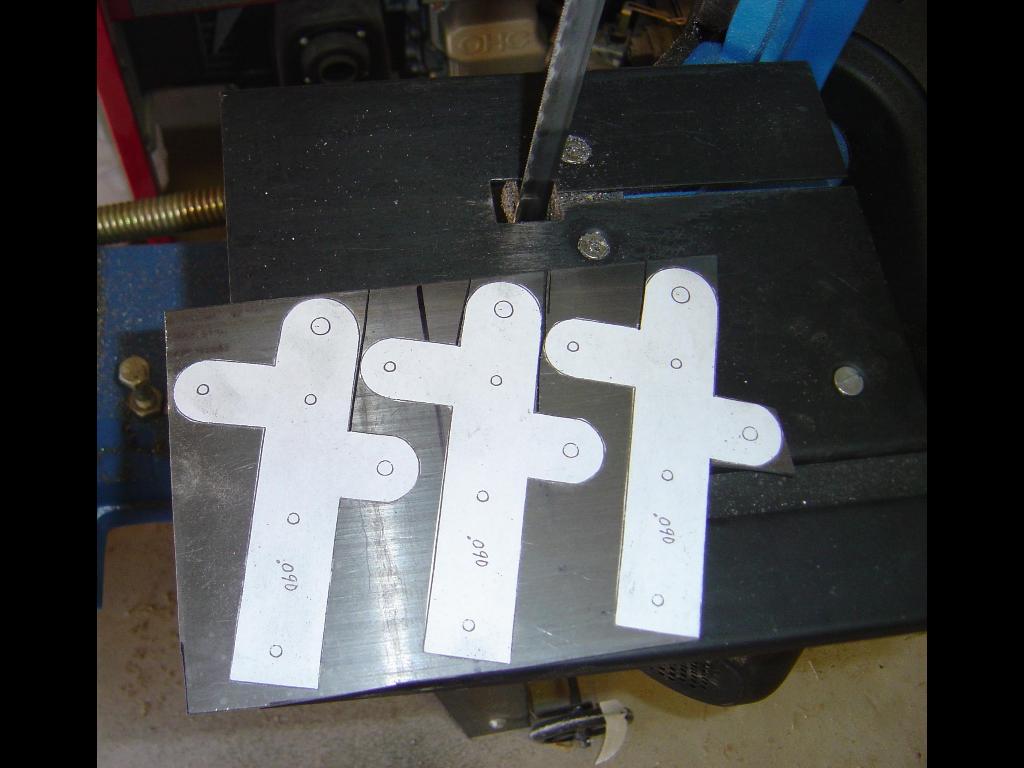
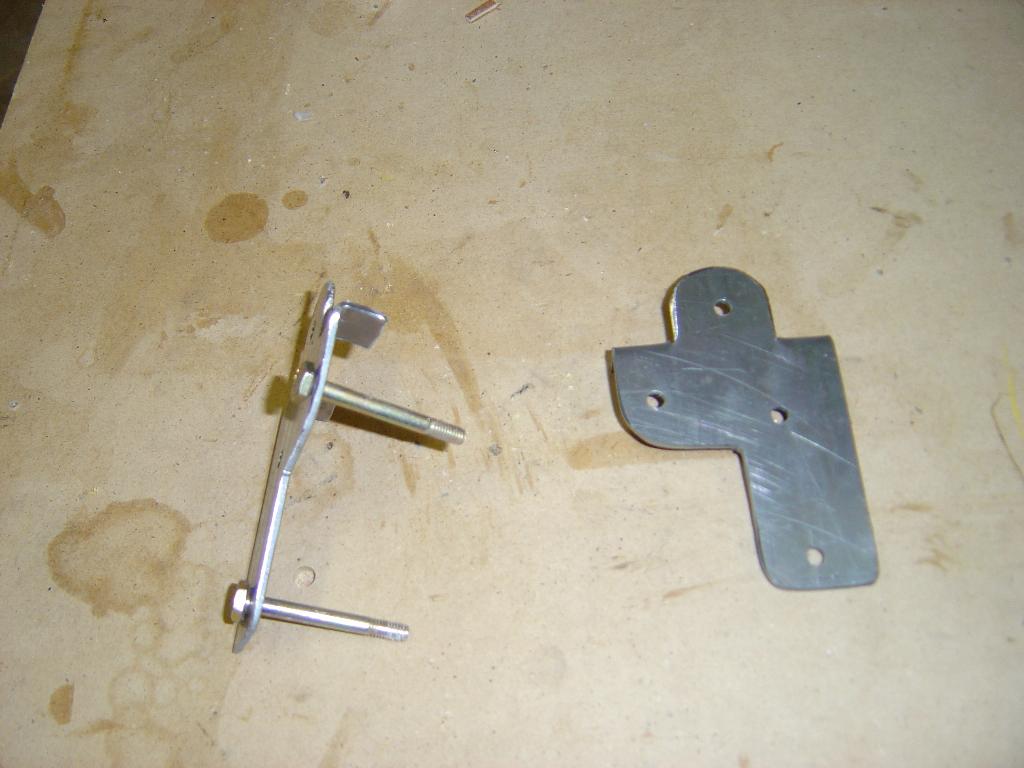
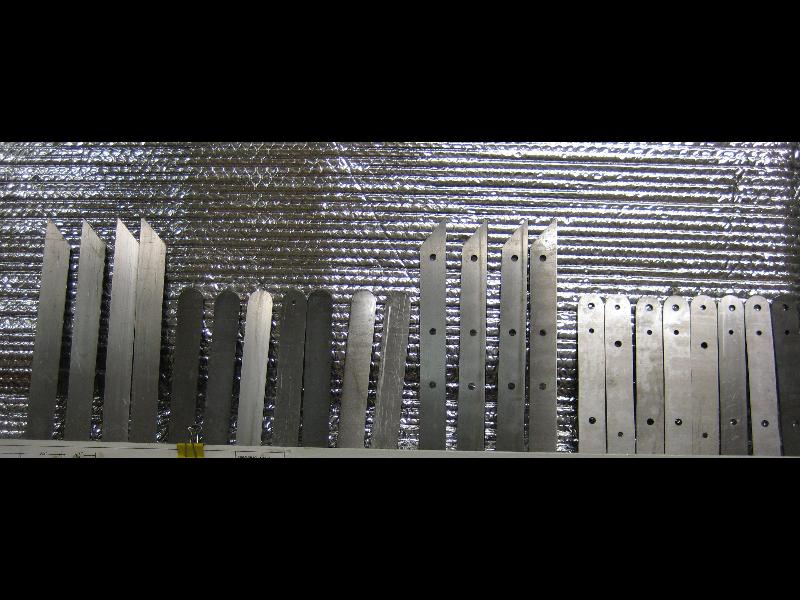
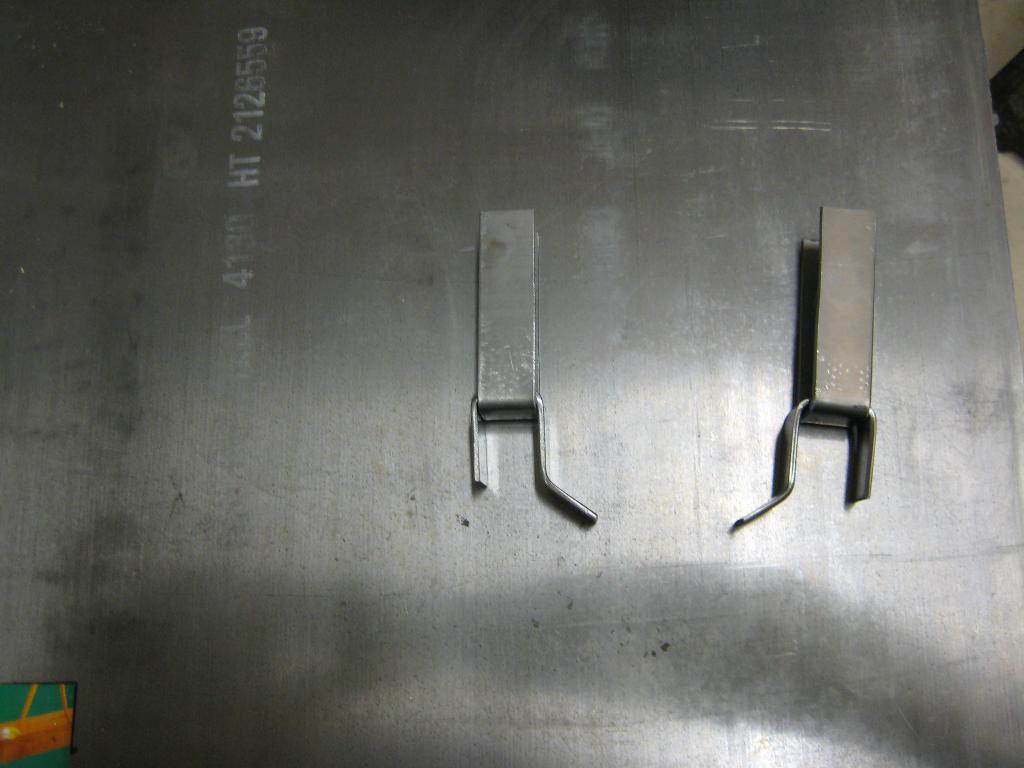
Making the metal fitings isn't that much of a task. In short you
print out a template with the proper measurements and spray it on
with 3M 77 and then cut it out on a metal cutting band saw. The
final trim work is done on a belt sander.
templates layed out
upper motor mounts
lower motor mounts
lower mounts again
tail on plane
elevator 1
elevator 2
cutting stock for elevators
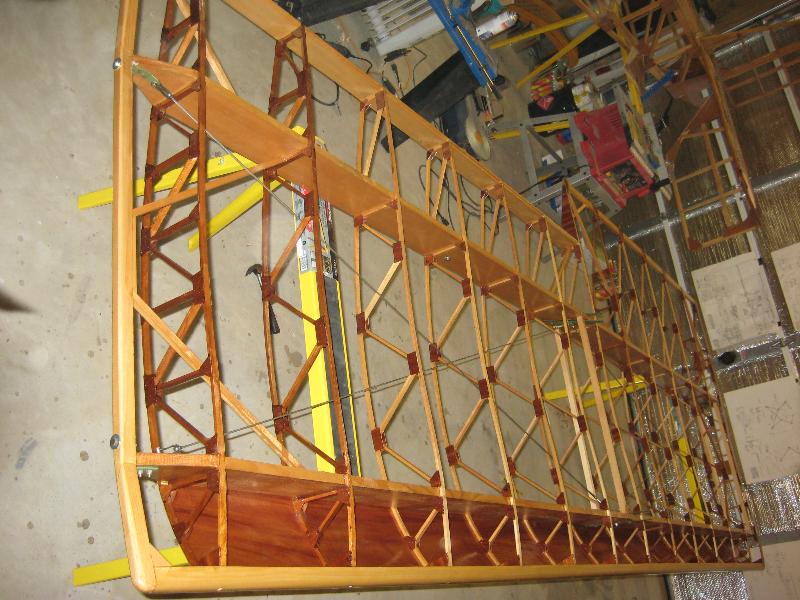
WING
Rib Steamer
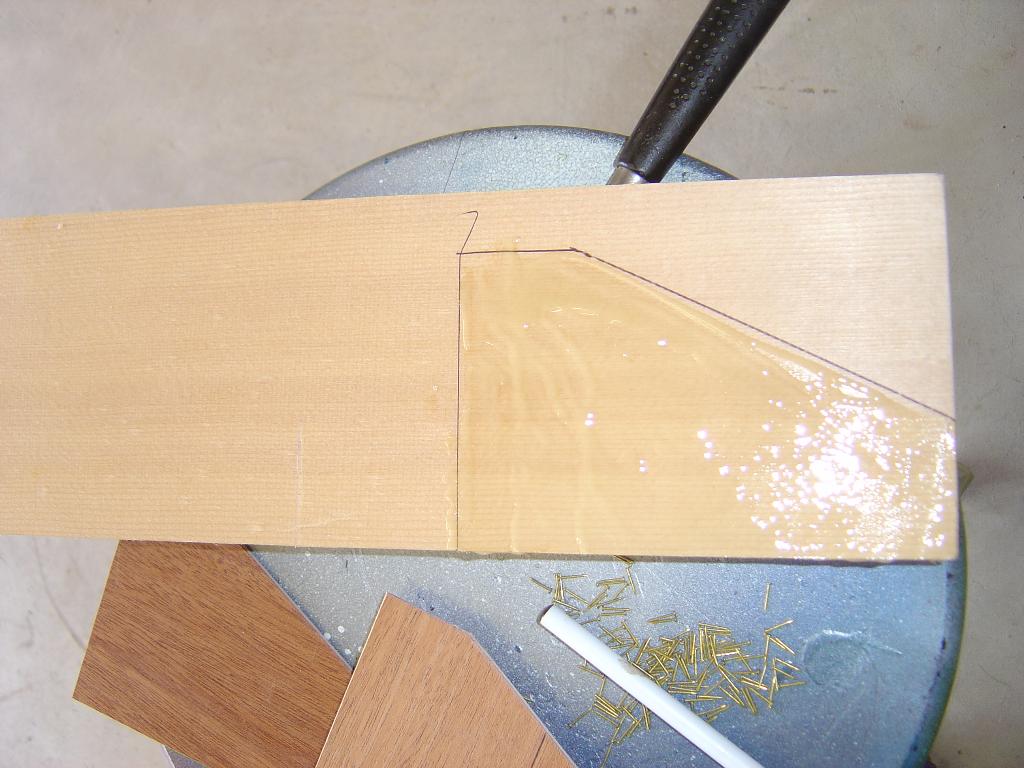
Cutting wing fittings
Strut and wing to center section
fittings
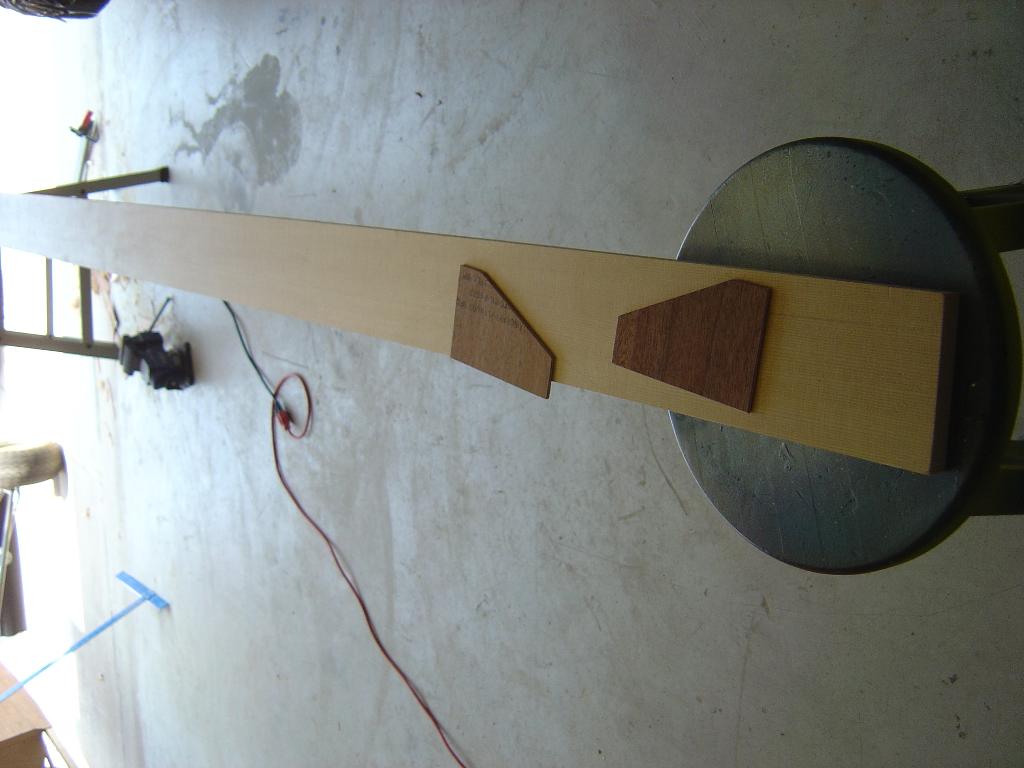
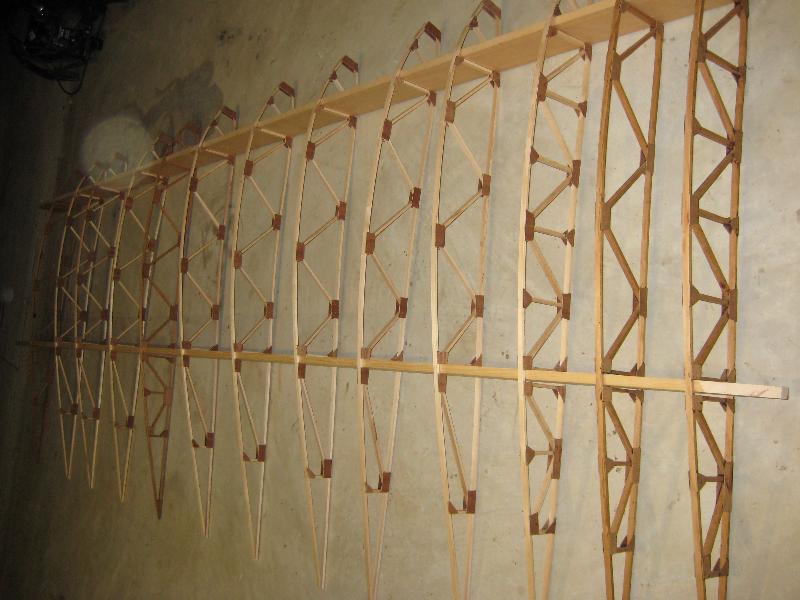
LEFT WING
Spar plates
plates 2
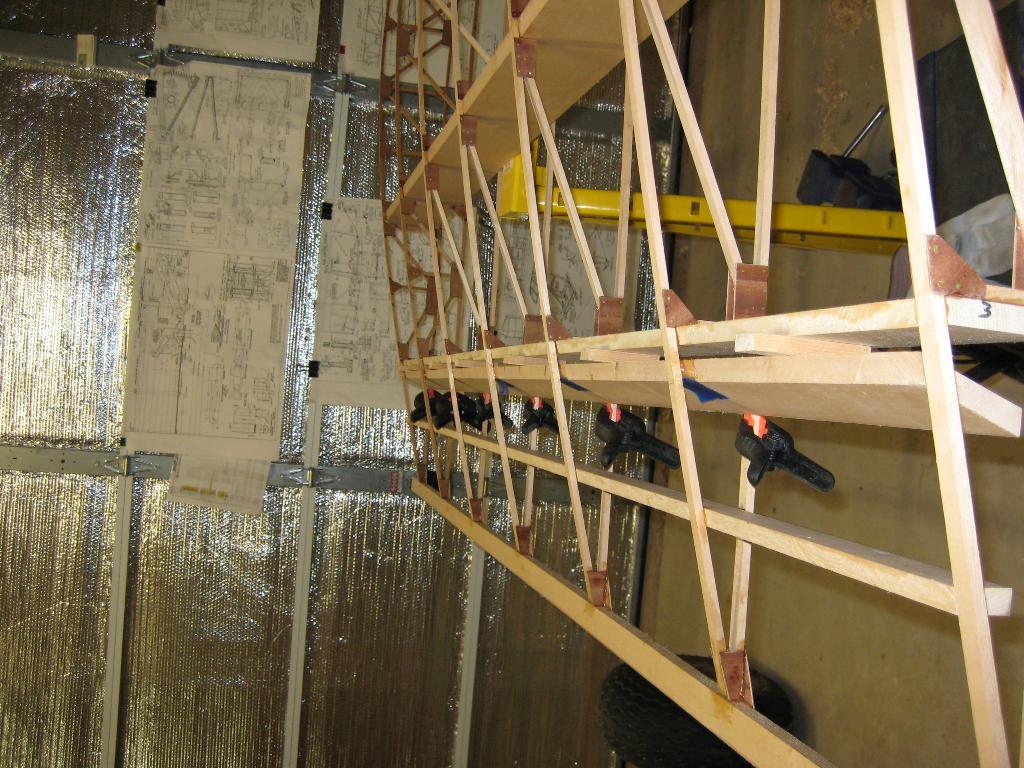
Ribs going on
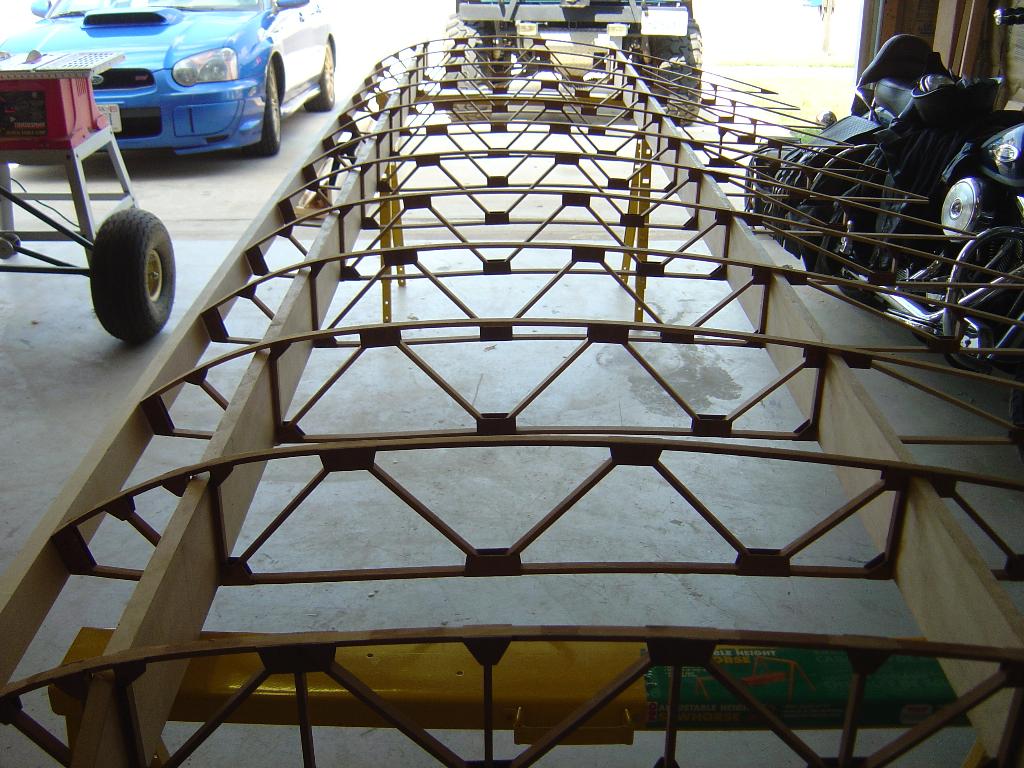
Ribs on and leading edge in progress
Left wing done other than ailerons
and tip bow
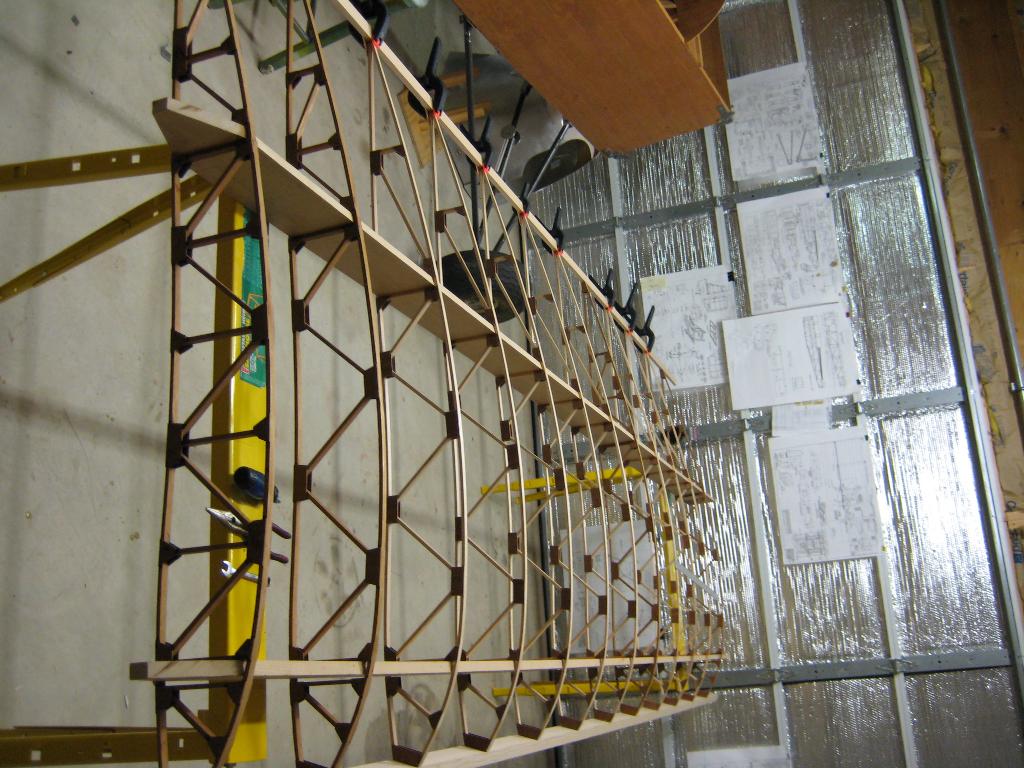
RIGHT WING
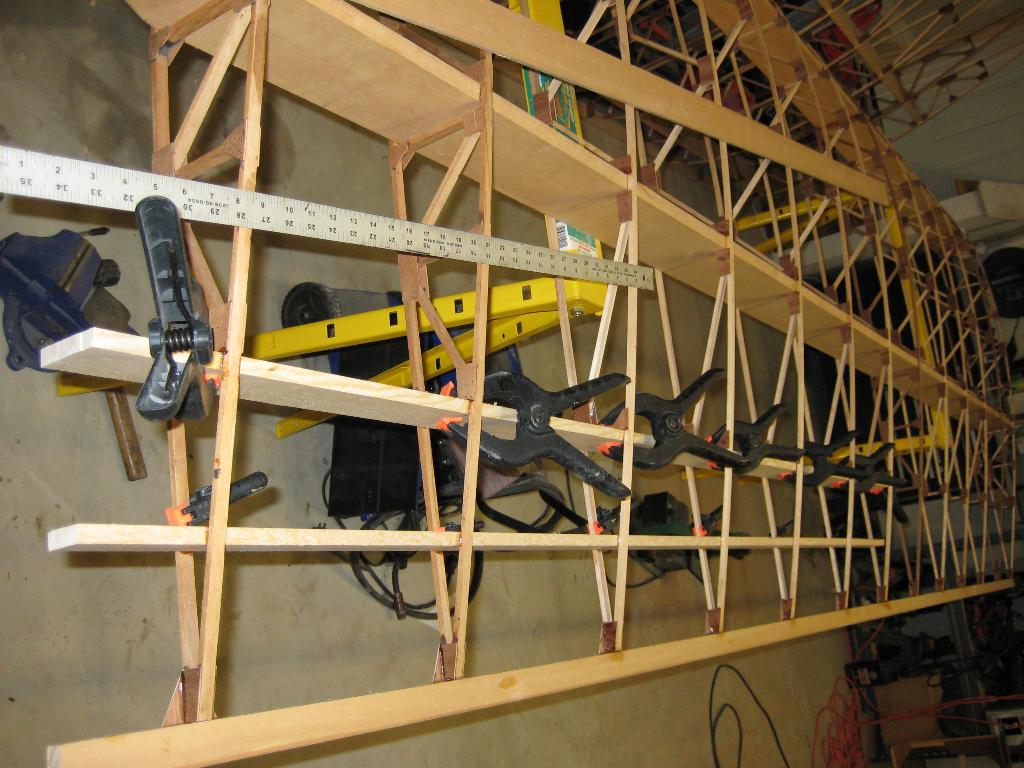
Ribs layed out on spar
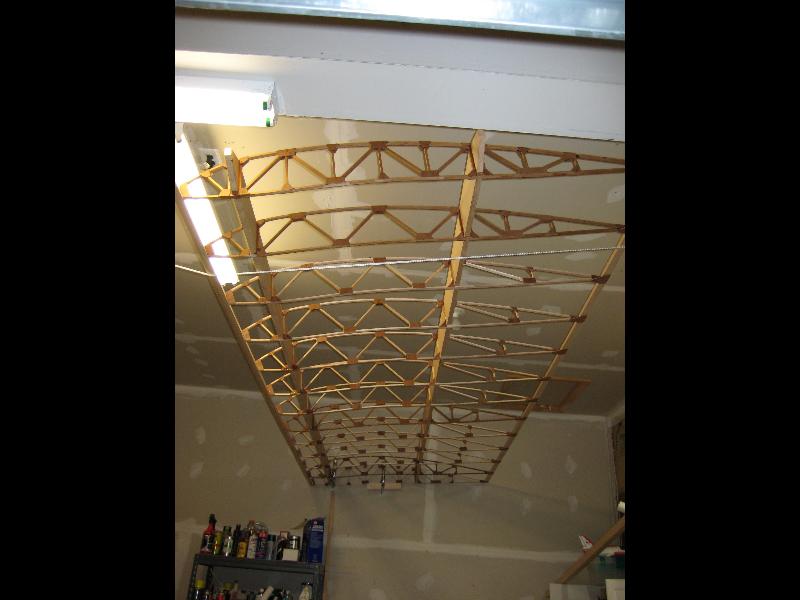
Wing with LE and TE done
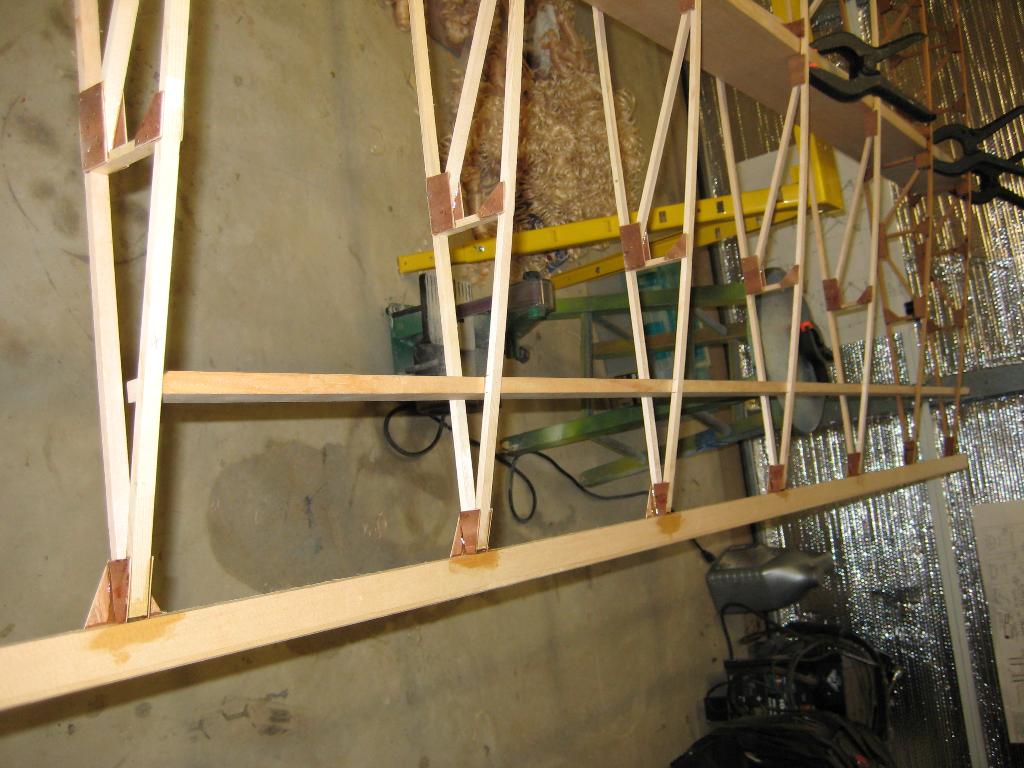
A shot inside the wing
Aileron spar
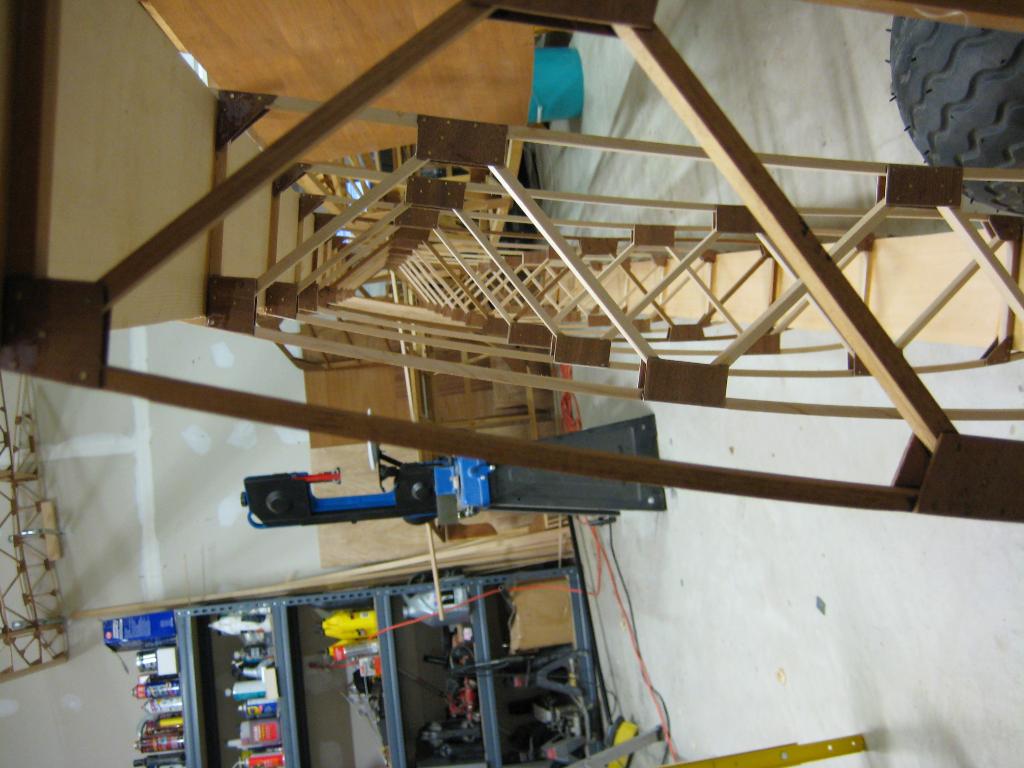
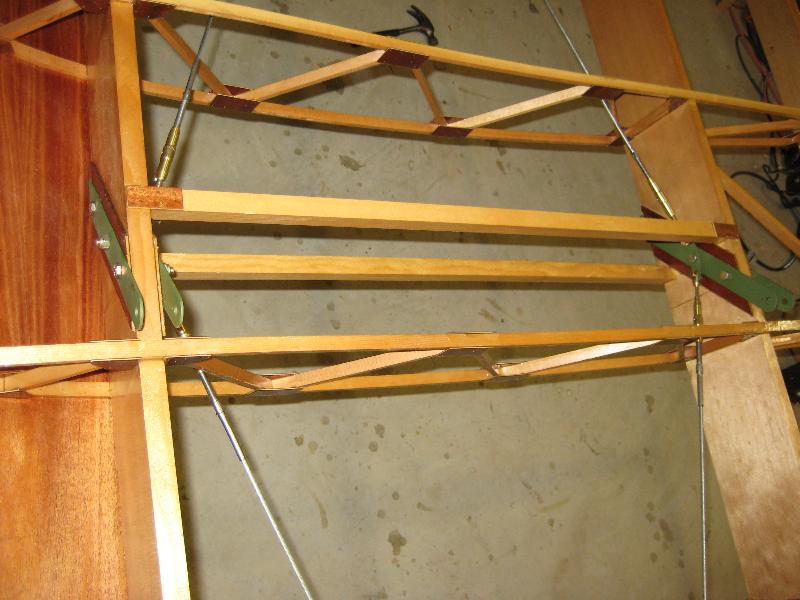
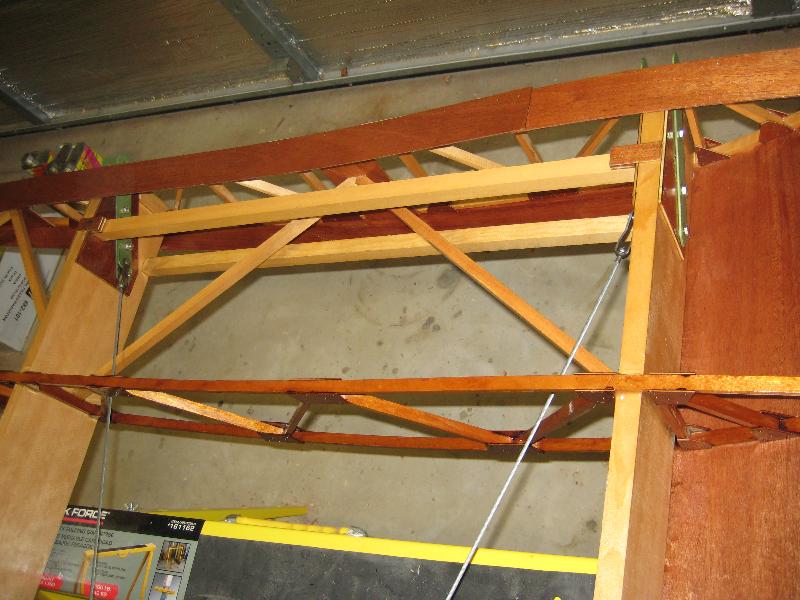
CENTER SECTION
Center section spars
Start of center section assembly
Ribs, LE, TE and braces in
Same
Metal fittings for cabanes
Aileron spars going in,
and done
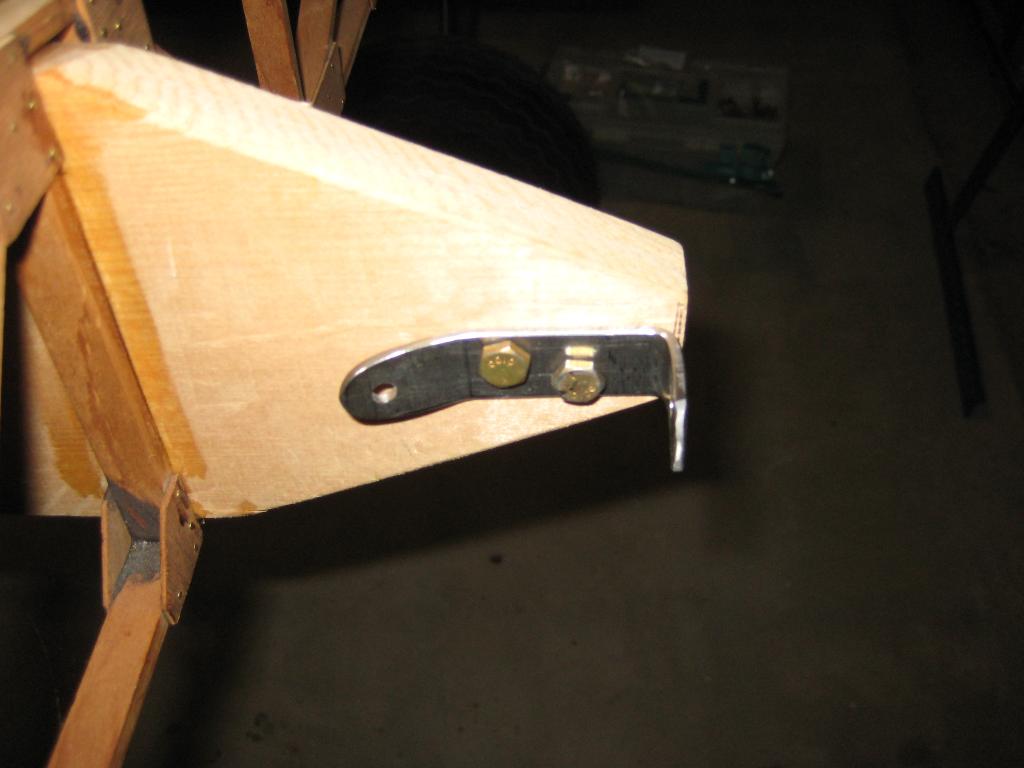
Wingtip fittings/ drag-antidrag anchor
Center Wing strut mount and wire
anchor
Left wing metal fittings done,
right wing on plane
More of the same
Left wing on stands for wingtip
work
Cabane wing mount
Right wing on plane
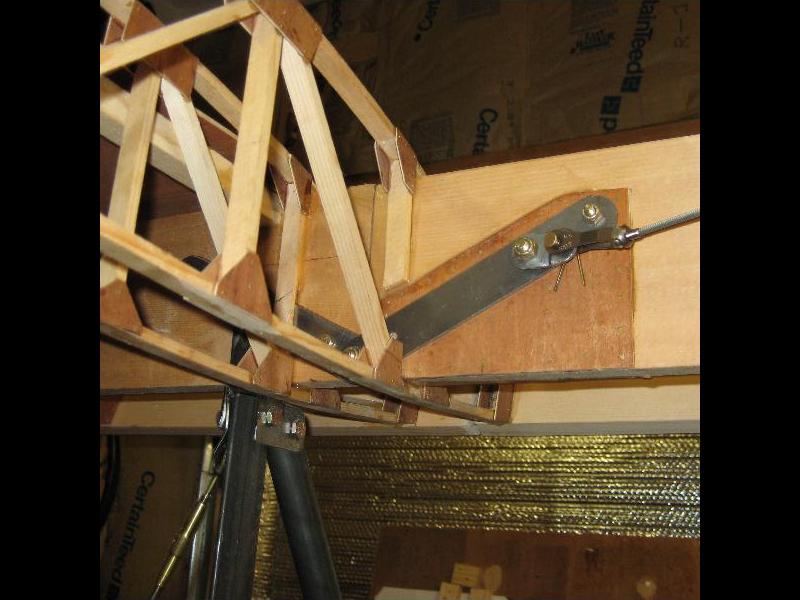
Fore Strut mount
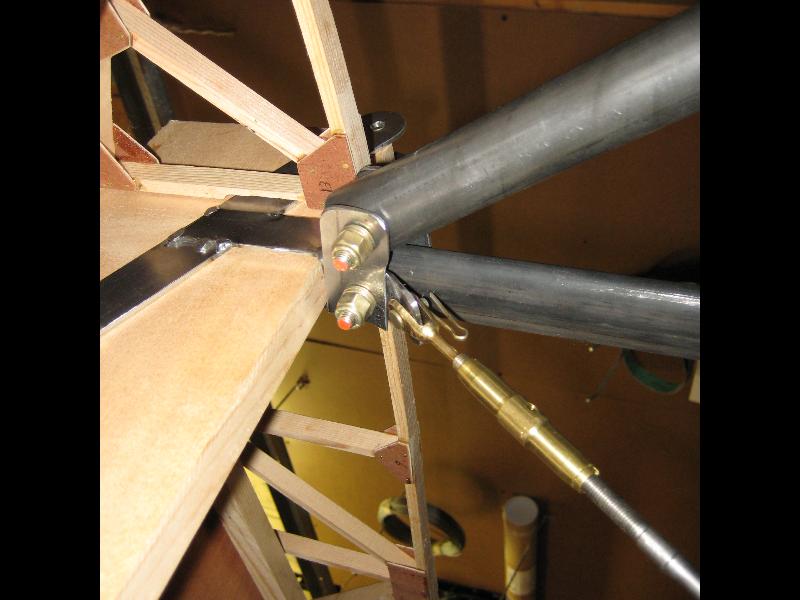
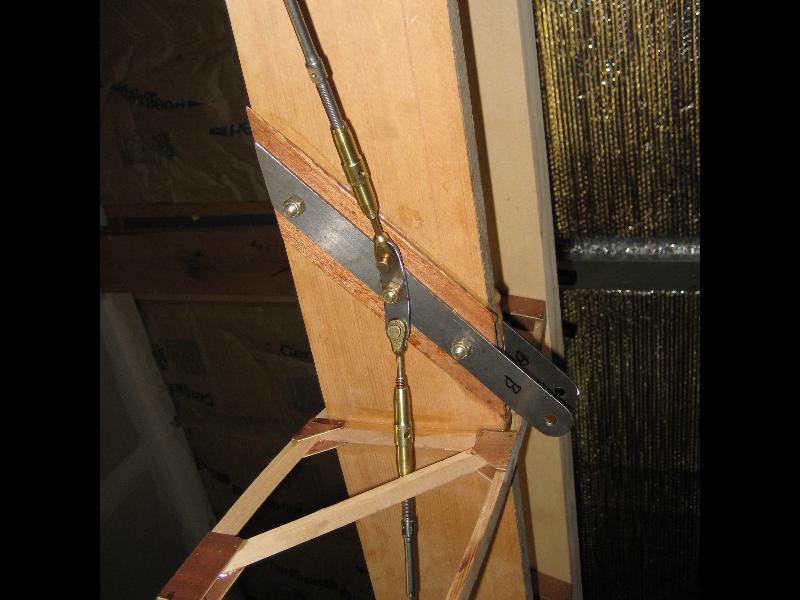
Center Wing Strut mont /
turnbuckles
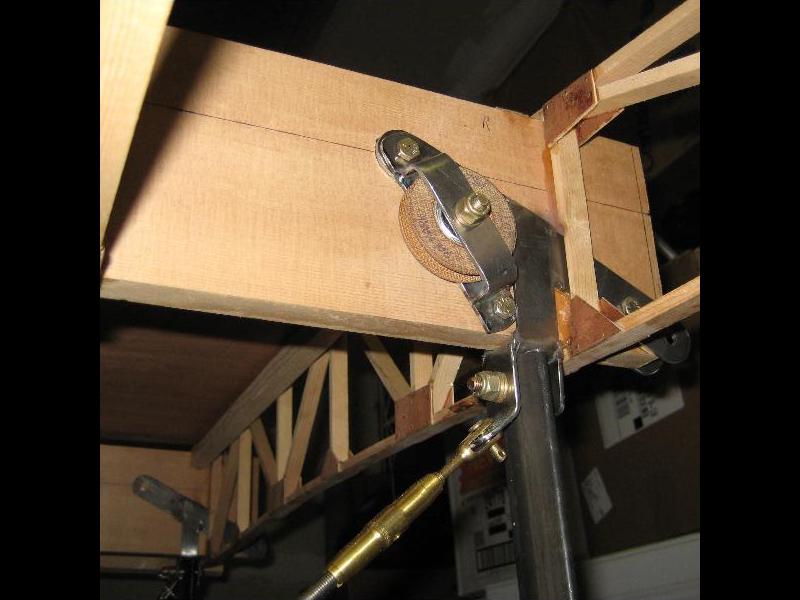
Center Section pulley
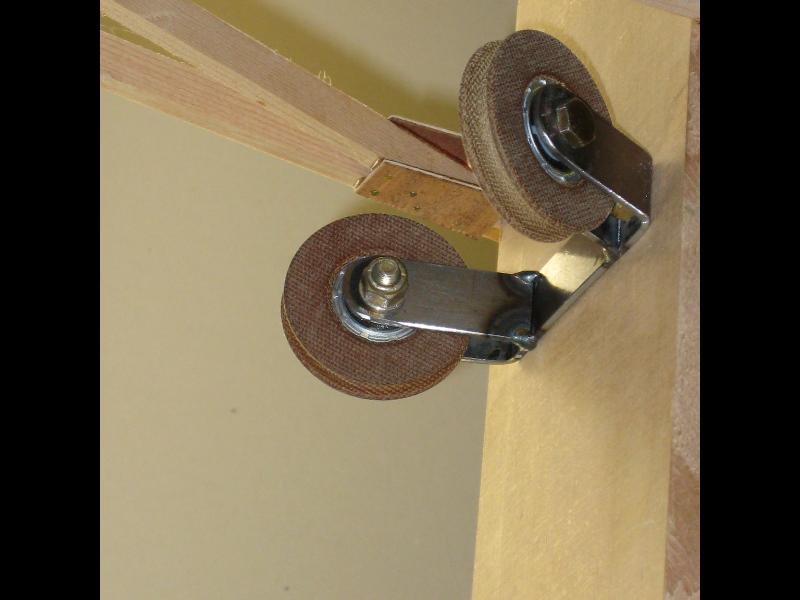
Aileron pulley section
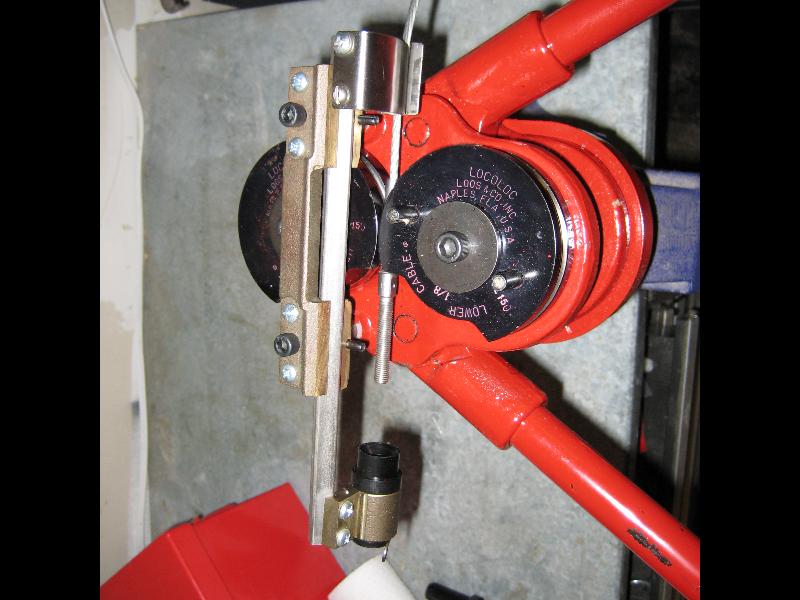
Swaging on fittings for cabanes
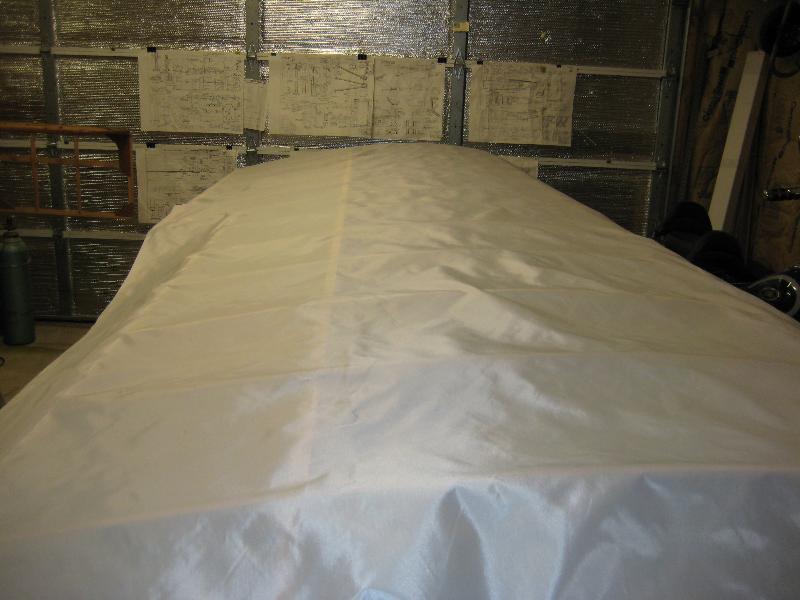
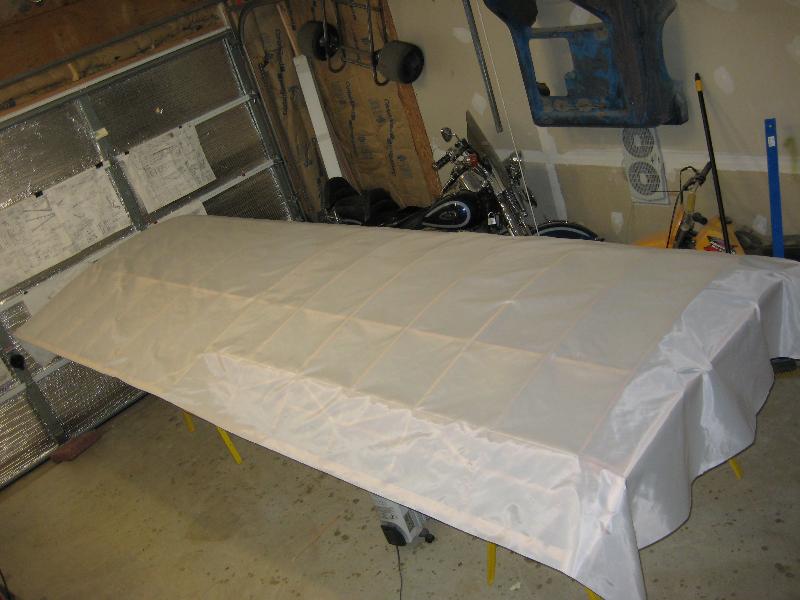
COVERING
Wings complete with fittings and varnish ready for covering.
1
2
3
First Fabric goes on
1 2
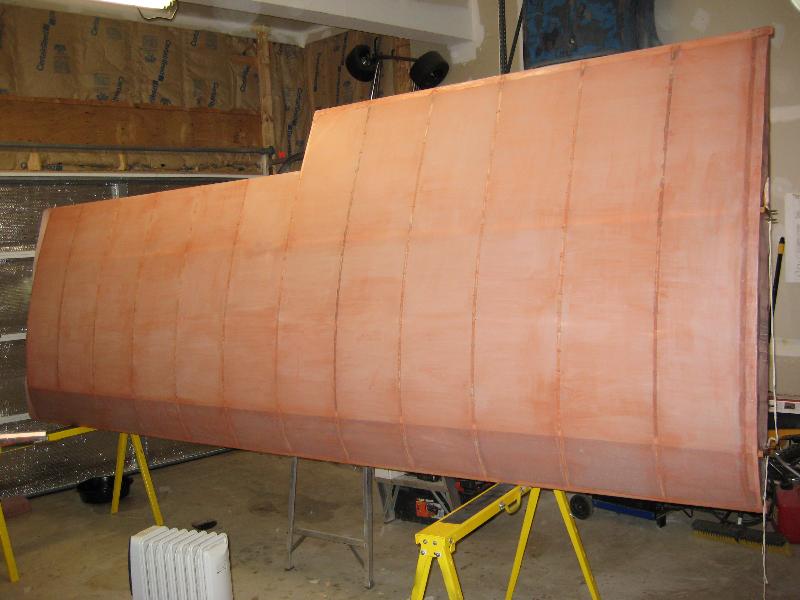
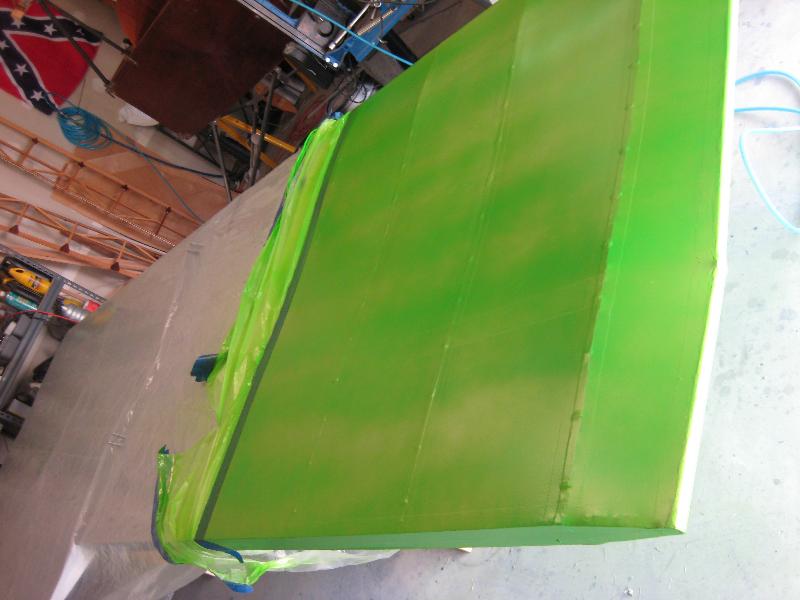
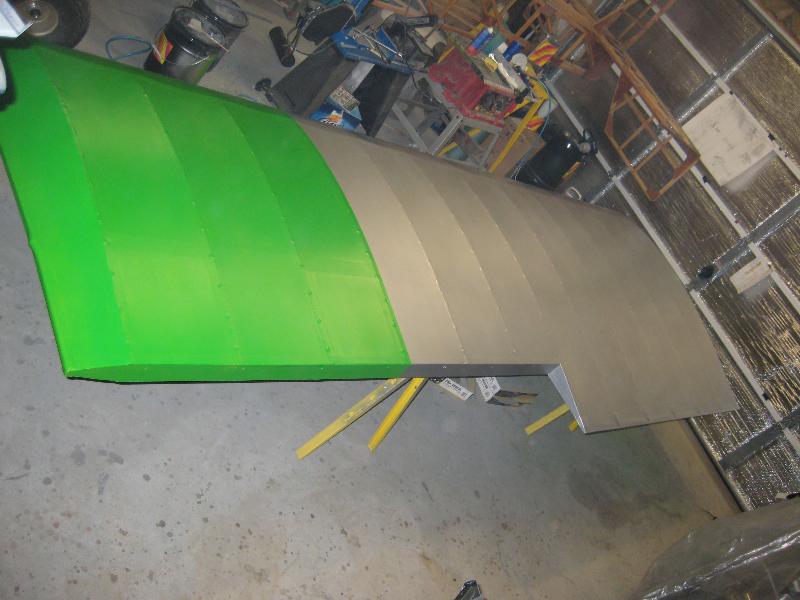
Tapes, Polybrush, polyspray and then the silver and green final
coats
1
2
3
Z | 